Heads up! Some links in this post are affiliate links. This means if you click and make a purchase through them, we might earn a small commission from the vendor (at no extra cost to you). This helps support our work and keeps HomeGymMarket.com running, and it never influences what we recommend. Our goal is always to provide unbiased, helpful advice.
Introduction: Your Dream Home Gym, Made Affordable
What’s drawing you to a home gym instead of the commercial gym experience? Is it really about budget? I say: no. You’re looking for a better experience. Your dissatisfaction with the commercial gym experience isn’t about the monthly membership fee: it’s the complete lack of control you have over your workout. You don’t get to choose the hours; the gym does. You definitely don’t get to choose the music; at best, you’re cranking up the volume on your headphones, as the gym’s speakers drown out your music (making you go deaf in the process). You have to wait in line to use dumbbells, machines, or the only squat rack in the gym. Is that puddle of sweat you’re stepping yours, or that of the 220lb bodybuilder who just used the bench before you? I could go on – you get the drill.
You’re really looking to build a home gym because you want to back control over your workout experience. Your schedule; your music; your pace. What’s held you back? Space, money? Sure, but if you want to build one, you have at least a little bit of both. But maybe, you just don’t quite know how far your money and space can go. And, without question, a home gym is way more cost-effective in the long run than a gym membership.
I’ve built four home gyms and advised on just as many, from a $150 budget to a $3,000 budget. So, I’m positive that the home gym that’ll work for YOU can fit somewhere within this experience. This comprehensive guide will enable you to build your dream home gym – one you can afford, and place in your home, considering three distinct budget tiers: $200 for the bare essentials, $500 that allow you to anchor around a definitive workout style, and $1,000 that allows for serious strength training.
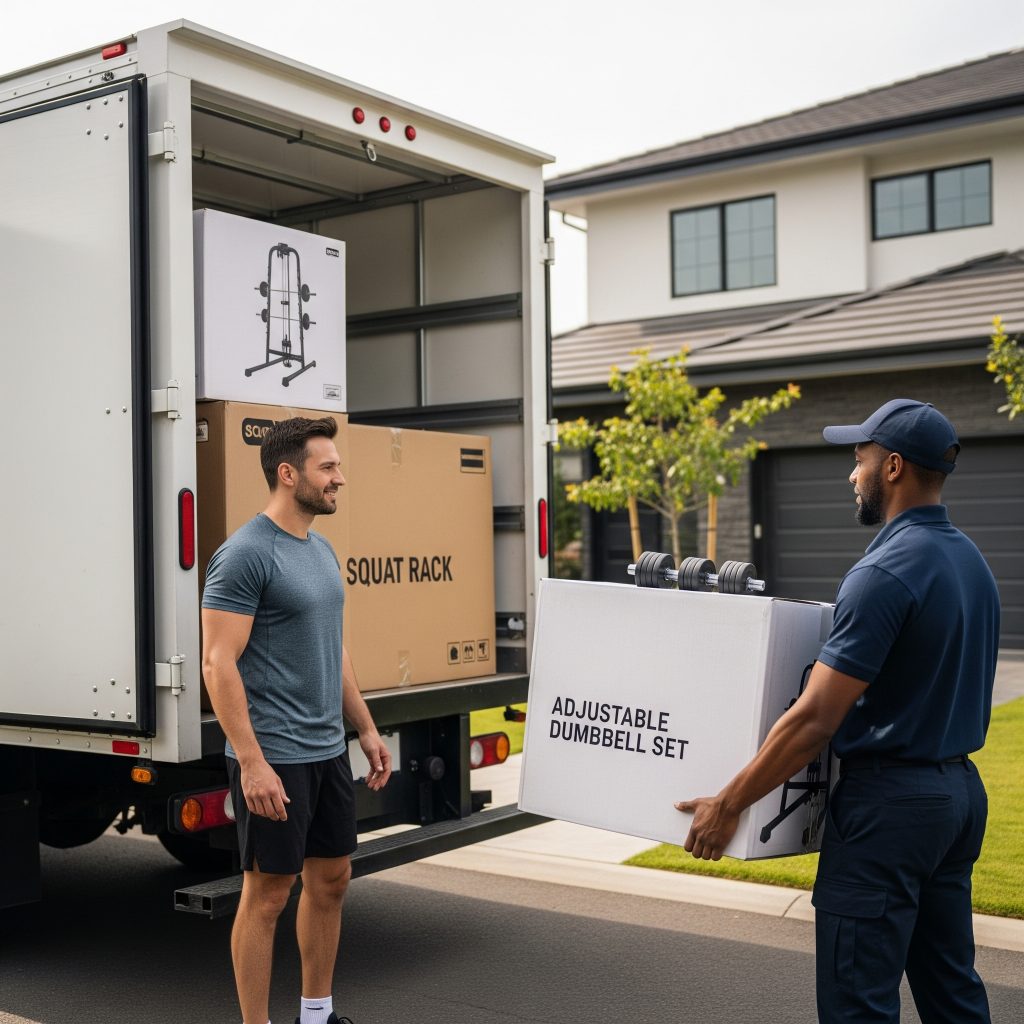
Table of Contents
- Why a Home Gym on a Budget Makes Sense
- Tier 1: A bodybuilding and functional fitness combo for $200
- Tier 2: Expansion opportunities – $500 Home Gym
- Tier 3: Match any commercial gym – Your $1,000 Home Gym
- Smart Buying Strategies: New vs. Used & Where to Look
- Setting Up Your Space: Tips for Any Home
- Conclusion: Your Budget Home Gym Journey Starts Now!
Why a Home Gym on a Budget Makes Sense
It’s as much about lifestyle priorities as it is about value for money.
Value for money is easy to understand. The average gym goer is spending anywhere between $10 to $200 a month. Say you’re spending $39.99; if you can get what you need from a $200 home gym, all it takes is 5 months of workouts to justify the investment – forever. And if you’re considering this, it’s because you aren’t getting enough value out of a commercial gym.
Having a home gym represents freedom and commitment: you can get a workout pretty much whenever, and it signifies an investment that you place fitness as something central in your life.
But, not everyone has the same idea in mind of what to do in a gym, or what they want to get out of a home gym. Simply put, there’s many, many ways to work out. How does that affect the gym you’re going to build?
Workout-Style Neutrality: A Foundational Approach
Bodybuilding, CrossFit, powerlifting, triathlon, conditioning for a field sport, or just trying to get back into shape: there are so many different ways to train. Each has specific equipment demands. To build a comprehensive guide that works for everyone—from beginners to experts—we’ll focus on workout-style neutrality. This means defining your home gym based on fundamental movements and adaptable equipment, ensuring it scales with your goals without being constrained by specific workout idiosyncrasies. We’ll prioritize versatility and efficiency to maximize your limited space and budget.
Tier 1: A bodybuilding and functional fitness combo for $200
We’re looking for bang-for-the-buck and being efficient with space. This is what will allow us to achieve our goal of a comprehensive guide that works for a wide range of athletes and goals, while staying on a budget. (Being tight on disposable cash isn’t explicitly tied to being space-constrained, but one can see how they aren’t necessarily uncorrelated either).
Which brings us to the absolute basics:
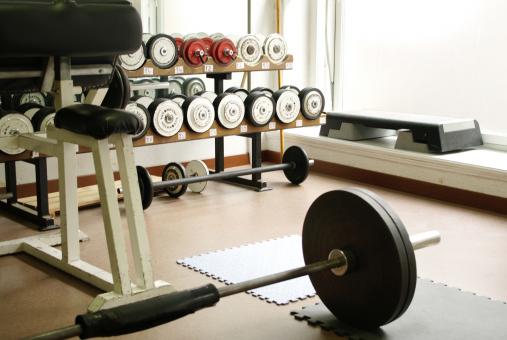
The Bench: Your Workout Foundation
When I say “bench”, you say “press”, right? Sure, but not only! While the bench press is arguably the most popular lift in the gym, and thus making a bench essential to perform the lift (unless you want to press from the floor, which is more appropriate for advanced athletes), it’s not the only benefit of a bench.
Because when I say “bench”, I could very easily follow that with “Bulgarian split squat”. Sure, the fitness world is rife with a “Barbell squat vs deadlift” debate for the King of all Lifts, but there’s also consensus that a rear-foot elevated split squat, holding onto a kettlebell or a pair of dumbbells, is a versatile, effective fat scorcher, muscle-builder and legitimate strength exercise for your legs and glutes.
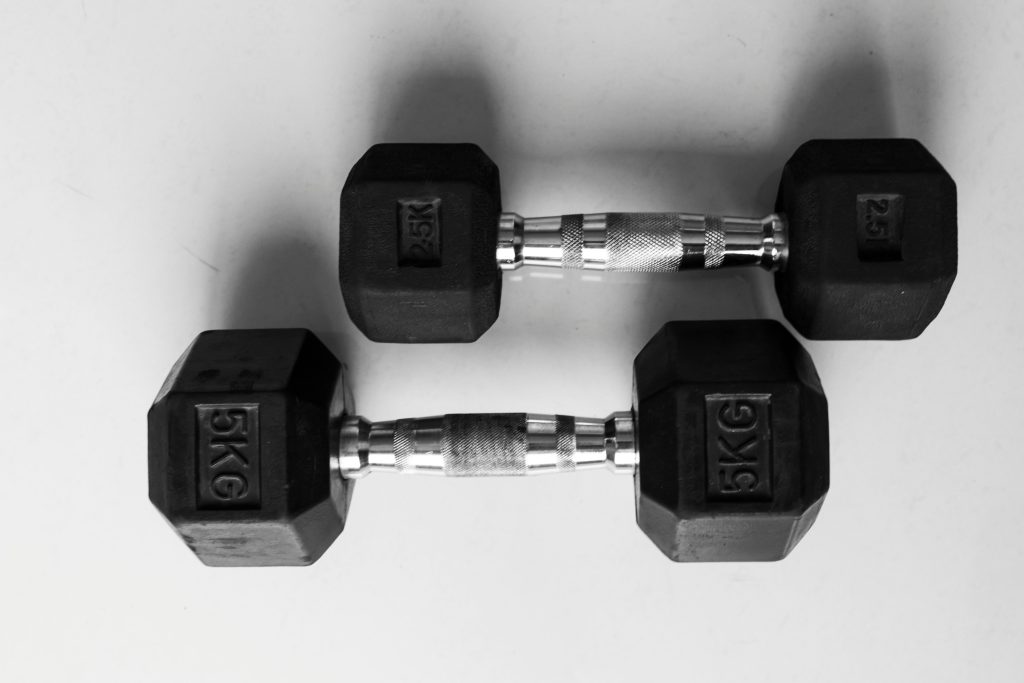
You can buy a new bench. They are affordable, and a beat-up used bench will significantly detract from your experience. The limited savings aren’t worth it. A basic but respectable flat bench can be had for around $46.
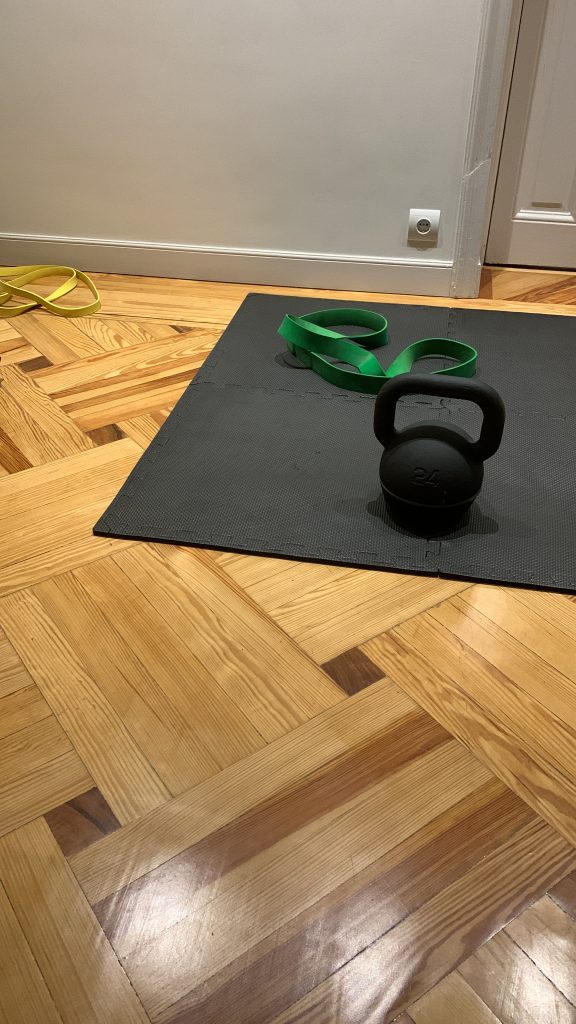
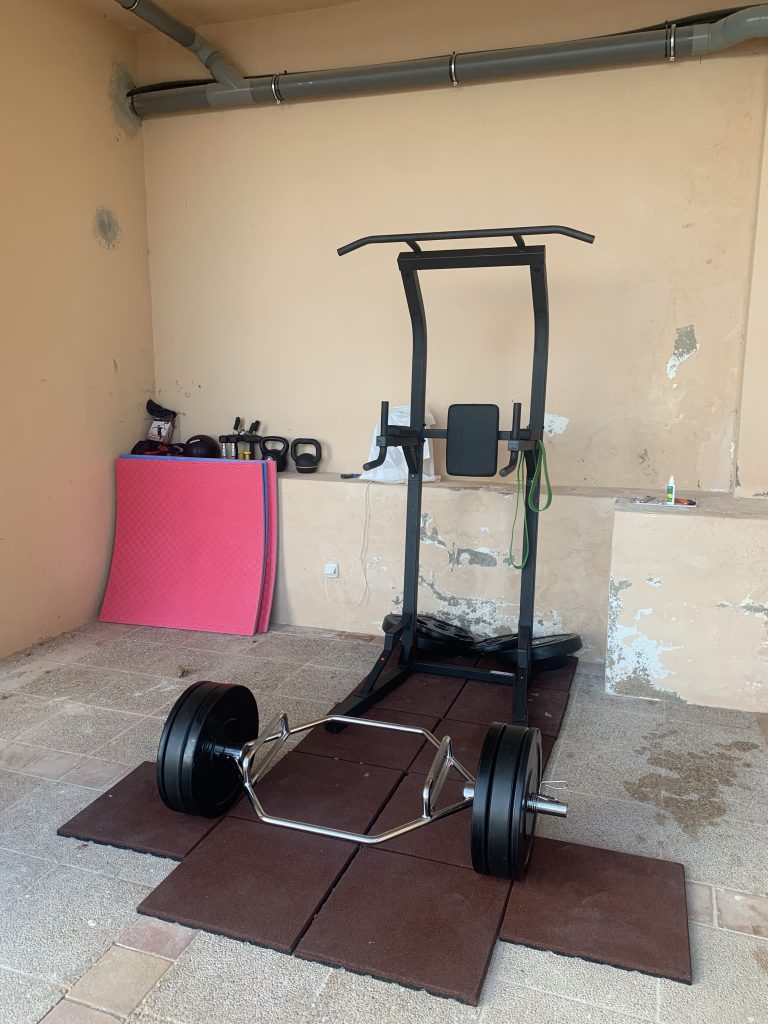
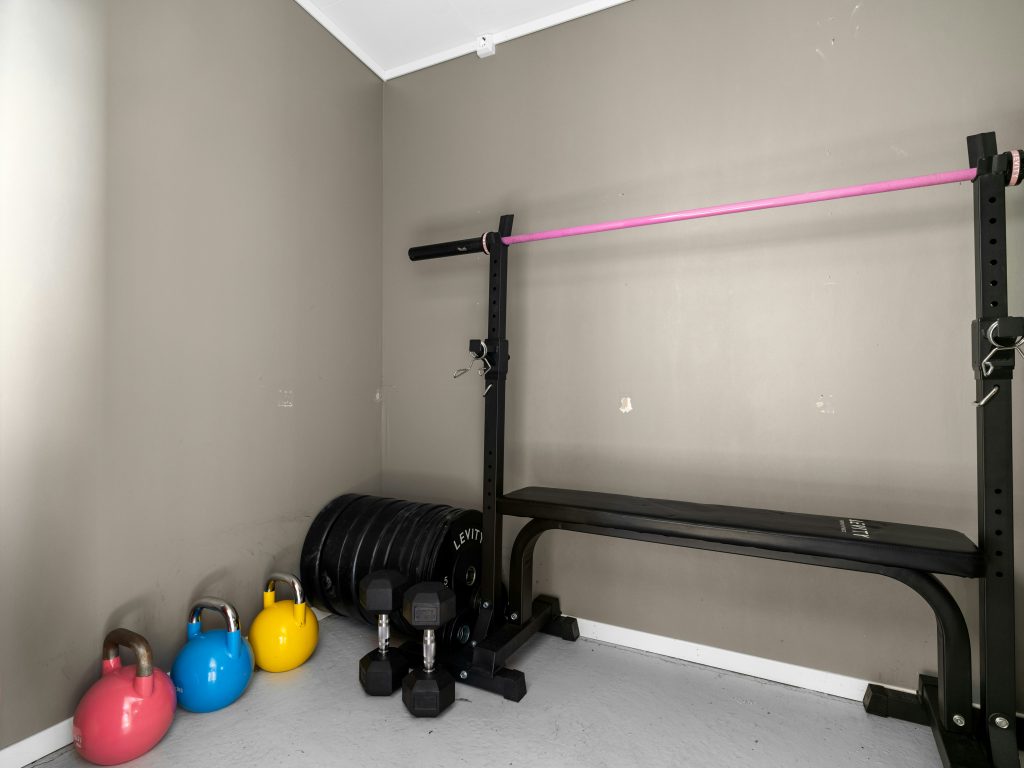
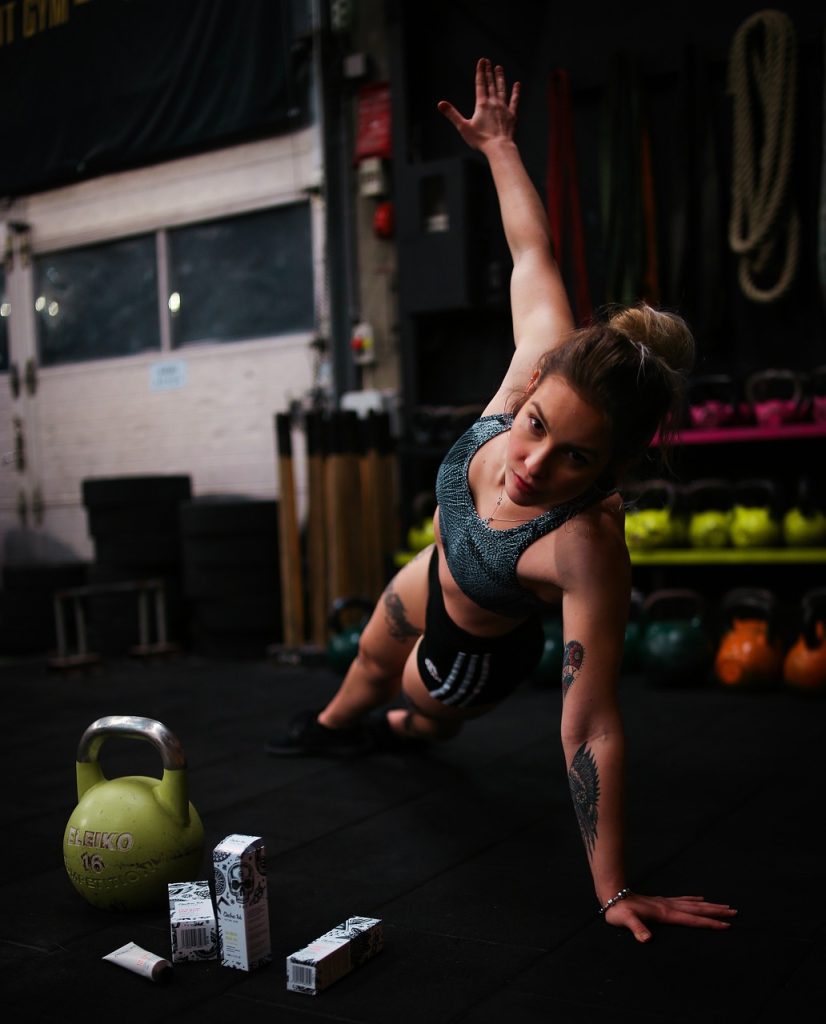
[Image: (Placeholder for your new composite $200 gym photo – e.g., kettlebell, mat, resistance bands, dumbbells)]
Caption: This began as a $70 home gym, and eventually became a circa $150 home gym, built on the same principles as the $200 gym. A 24kg (52lb) kettlebell, a medium and a thick band, and some foam mats were enough to give us a decent workout in our urban apartment, when a rainy day discouraged us to walk to the commercial gym, or the gym was closed. We expand this with a lighter kettlebell, thinner bands, and an assortment of dumbbells.
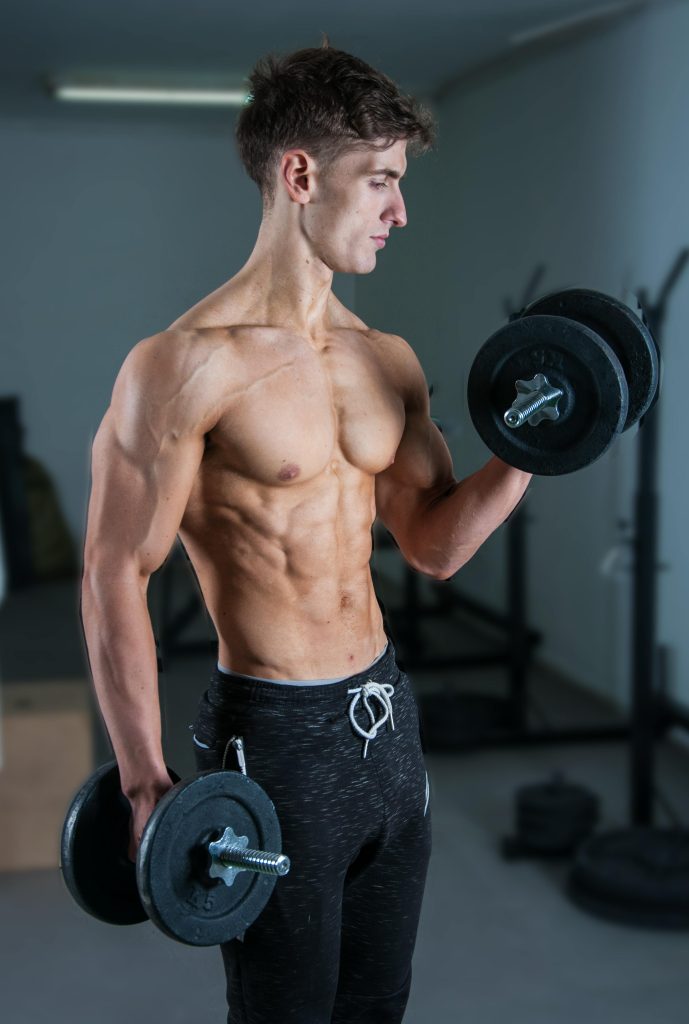
Weights: It’s about Gravity
So, with just these two items (a bench and some dumbbells), we can perform full-body training exercises that gymgoers and coaches all over can approve of. The dumbbells can also be adapted as a HIIT or explosive exercise, such as the snatch. And the kettlebell in particular is best known for a simple exercise – the kettlebell swing – that has an almost unique superpower: it can train explosiveness and cardio at the same time.
For men, I recommend a 35lb kettlebell (a nice cast iron one can be had for around $50), and for dumbbells, a pair of 25lb dumbbells (also circa $50). This gives us a good balance of strength and conditioning.
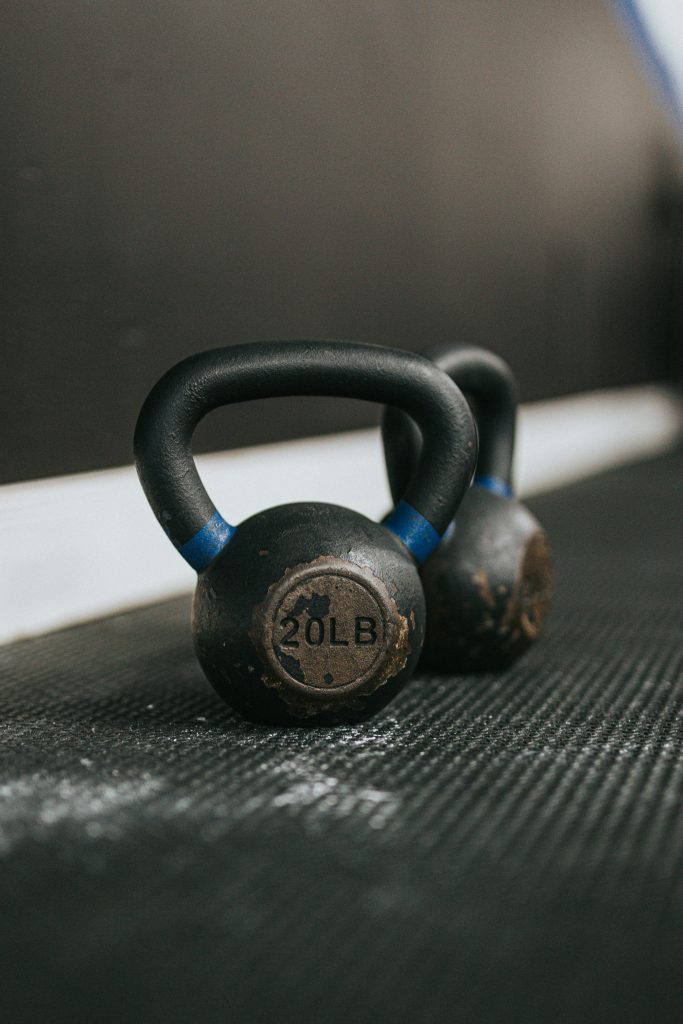
A kettlebell can absolutely be bought used – can, and should. Check to see if it’s welded – if so, it’s all in one piece, and old as it is, it isn’t going to break. You’ll get the same experience for less money. Dumbbells can also be bought used, but a lot of people like the look and feel of new dumbbells. If you’re going to buy adjustable, buy new – it’s a versatile purchase. If you want to buy multiple sets of dumbbells, you’ll reap major savings by buying used.
Resistance Bands: The Boomerang Effect
And if we add a resistance band… This third element may not be as familiar to you as the previous two. But they are cheap, take up very little space (you can even travel with them), and are extremely versatile. You can use them on your own to warm up or build mobility. You can step on them and pull them up for bicep curls. You can shoulder-press them or do lateral raises. You can wrap them around your torso and squat. You can step on them for sumo deadlifts. And you can wrap them around the dumbbells or kettlebells to add extra resistance to the weights.
Buy new. They’re cheap, and there’s a noticeable aesthetic decay to used bands for virtually no savings. Thin bands are more versatile than thick bands, but if you want to replicate a “training heavy” experience, one thick band can add a lot to your home gym for very little expense. A set of four to five bands of varying thickness can be had for $25 to $30. The thickest bands represent 85lbs of resistance – consider our dumbbells and kettlebells, and this is starting to add up! (Remember, bands can be used together!)
Floor Mats: Protecting Your Space
You can always add more equipment to a home gym – a pullup bar, a dip station, or even go bigger with a squat rack, but if you build your foundation around these three, you can start small and become nearly infinitely scalable. But I’d argue that before getting fancy, you want to purchase some EVA foam mats. These are cheap, can be stored away, and are multipurpose for your floor: it can protect them from your sweat, while giving you a space for floor-based exercises (crunches, abs, even pushups, etc). By the way, you can use resistance bands to turbocharge your pushups (if you’ve become too strong to get much benefit from body weight pushups).
Also buy new. These mats are cheap – 24 square feet of interlocking foam tiles for about $25 – and catch a lot of sweat. Rolling around in the residue of someone else’s sweat isn’t worth a few dollars of savings.
Cardio at Home: be practical
Now, before we move on, some of you might be thinking: but cardio is essential! How can a home gym essentials list leave a cardio machine out? And there is a clear, practical answer here: run outside! Cardio machines (good ones) are expensive and take up a LOT of space! Nothing is cheaper (a pair of running shoes, which you probably already own) and more effective than going out for a 5k or a few miles.
We’re also just about hitting our budget of $200. But, if you absolutely MUST purchase some kind of cardio focused equipment, a decent jump rope costs all of $8.
Summing up the $200 home gym
| Item | Price (new) | New/used |
| Flat bench | $46 | New |
| 35lb Kettlebell | At most $50 | Preferably used |
| Pair of 25lb Dumbbells | Circa $50 | Used is fine |
| Set of resistance bands | $25 | New |
| 24 square feet of interlocking tile EVA foam mats | $25 | New |
| Jump rope (optional) | $8 | New |
| Total (if all new) | $202 |
This total can go below $200 if either the kettlebell or dumbbells are bought used.
This is a viable little gym, allowing for full body, functional fitness and bodybuilding-style workouts at home, with a suitable space for crunches and even cardio. Adding all the bands to the dumbbells can bring the trainee to around 250lbs of resistance, resulting in some serious bang-for-the-buck in this setup. For women, a 24lb kettlebell and a pair of 15lb dumbbells are perhaps more suitable, which will also result in savings (these products are largely priced according to weight).
Tier 2: Expansion opportunities – $500 Home Gym
Now, we’re moving into the middle tier. This budget allows you to significantly expand your capabilities beyond the absolute basics. At around $500, you have some major choices ahead of you: enhance your functional fitness and bodybuilding crossover, or build a solid foundational strength setup. Let’s see how far $500 gets you.
Path 1: Enhanced Functional Fitness & Bodybuilding Crossover Gym
This path directly builds on your $200 setup, adding more versatility, weight, and dedicated accessories to deepen your training.
We’re building on our $200 gym. The very first decision we want to take is whether to replace the pair of 25lb dumbbells with adjustable dumbbells (hint: we probably do), and if so, what kind of adjustable dumbbells. This leaves our original investment at $150, with another $350 left for expanding our gym.
Adjustable dumbbells come in two kinds (of ways to adjust the weight): single-handed rotation, or adjusting swivels on both sides. The former is more convenient, but can come at a significant premium. For a bit over $250, the rotation-adjusting dumbbells give the user a range of 5lbs to 52.5lbs (so a pair of them can go up to 110lbs). Very few users are going to shoulder press more than this for a few reps, and they can provide a respectable pump for high-rep benching, and leave you with sore quads and hamstrings if you use them for lunges and Bulgarian split squats. Swivel-type dumbbells are more cumbersome to adjust; a pair of them can get you to the same level of weight for around $170 – that $80 difference is 16% of our budget. Something to think about, as there’s a clear tradeoff between convenience and price. Again, these are new prices, but you can expect a discount buying used.
Moving on, we’ve got either about $100 left, or $130.
If you chose the rotation-adjusting dumbbells, you’ve likely got bodybuilding in mind. So, strength and muscle is more your thing. If so, you’re probably also a fan of pullups and dips (one’s equivalent to the deadlift for the upper body, and the other’s squats for arms) – I certainly am. However, I’m not a big fan of pullup bars that you place in your door frame (very hit or miss), while I AM a big fan of “parallette” dip stands, which will only set you back $60 or so.
This leaves you with another $40 or so left. Another 35lb kettlebell will enable more sophisticated functional fitness workouts, complementing your bodybuilding slant.
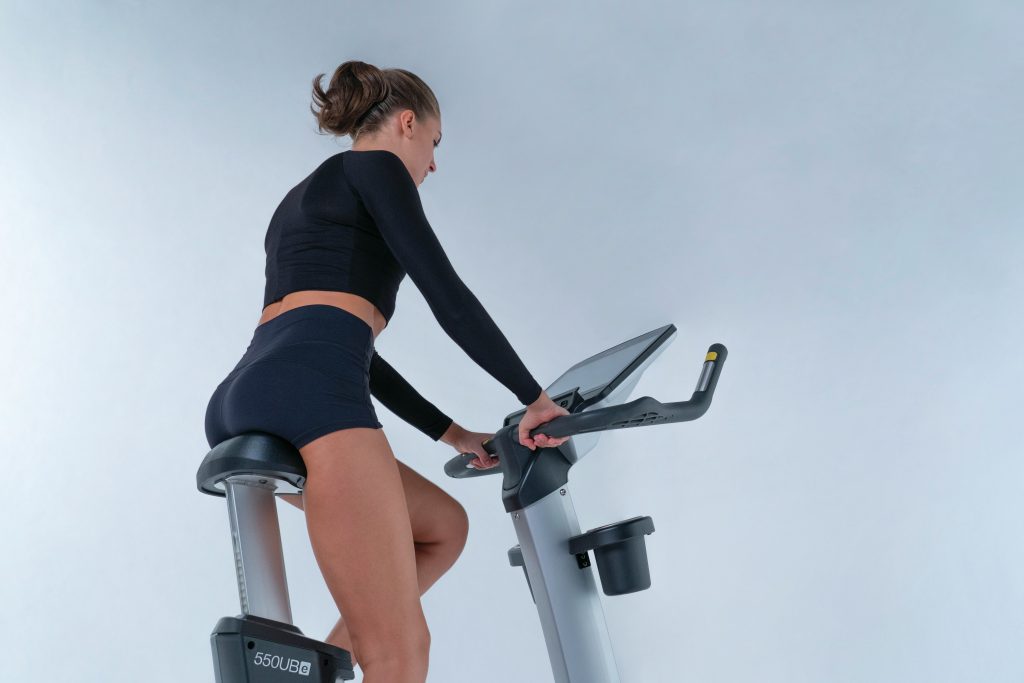
For the $200 Home Gym, I was dismissive of buying cardio equipment. Just go run outside! But, if you live in the sweltering desert or frozen tundra, and absolutely must have an indoor cardio machine, then you want a compact exercise bike. One where you pedal upright, thereby taking up minimal footprint. I used to have one, and believe it’s a viable option for a budget home gym. A bike like this can be used, so long as it isn’t broken. It’s not viable for competitive training, but can get your sweat on at home without braving the elements. But even a new bike of this type can be found for around $130, if you’re smart about it. This allows you a well-rounded blend of heavy dumbbells, functional kettlebell training with resistance bands, intense cardio (jump rope), and steady-state cardio (exercise bike). A committed user will likely never have to go back to a commercial gym if these are your goals.
Summing up the $500 Enhanced Crossover Gym
| Item | Price (new) | New/used |
| Flat bench | $46 | New |
| 35lb Kettlebell (two) | At most $100 | Preferably used |
| Rotation-adjusting dumbbells (up to 52.5lbs each) | Circa $250 | Used is fine, but many will want new |
| Set of resistance bands | $25 | New |
| 24 square feet of interlocking tile EVA foam mats | $25 | New |
| Jump rope (optional) | $8 | New |
| Dip bar parallettes | $60 | Used is fine |
| Total (Option 1) | $525 |
Can get below $500 if shifting a few items to used.
Option 2: Generalist fitness program across bodybuilding, cardio, and functional
| Item | Price (new) | New/used |
| Flat bench | $46 | New |
| 35lb Kettlebell (two) | At most $100 | Preferably used |
| Swivel-adjusting dumbbells (up to 52.5lbs each) | Circa $170 | Used is fine, but many will want new |
| Set of resistance bands | $25 | New |
| 24 square feet of interlocking tile EVA foam mats | $25 | New |
| Jump rope (optional) | $8 | New |
| Indoor exercise bike (upright style) | $130 | Used is fine |
| Total (Option 2) | $508 |
Can get below $500 if shifting a few items to used.
Path 2: Foundational Strength Setup
The bare essentials above are perfectly suitable for a beginner interested in hypertrophy (building muscle), and will also deliver strength gains. Combining weights with bands can go a long way before reaching diminishing marginal returns. But sometimes, you just want to load up a barbell – not just for the bench press, but also to squat, deadlift, military press, row, clean & jerk… There’s a lot that can be done with a barbell. Progressive overload is the key to strength training, and the barbell is unrivalled in its loadability.
Fortunately, barbell training at home is entirely possible. You already have a bench, so what you’re missing is a rack (or some stands), a barbell, and weight plates. Let’s have a look at these – without delving into all the permutations. Configuring these items is almost like buying a car: an enthusiast can go down the rabbit hole. We’re not going to get into the weeds (i.e., hole spacing, hole width, upright dimensions, pull-up bar styles, etc), but it’s important that you understand the basic configurations that racks come in.
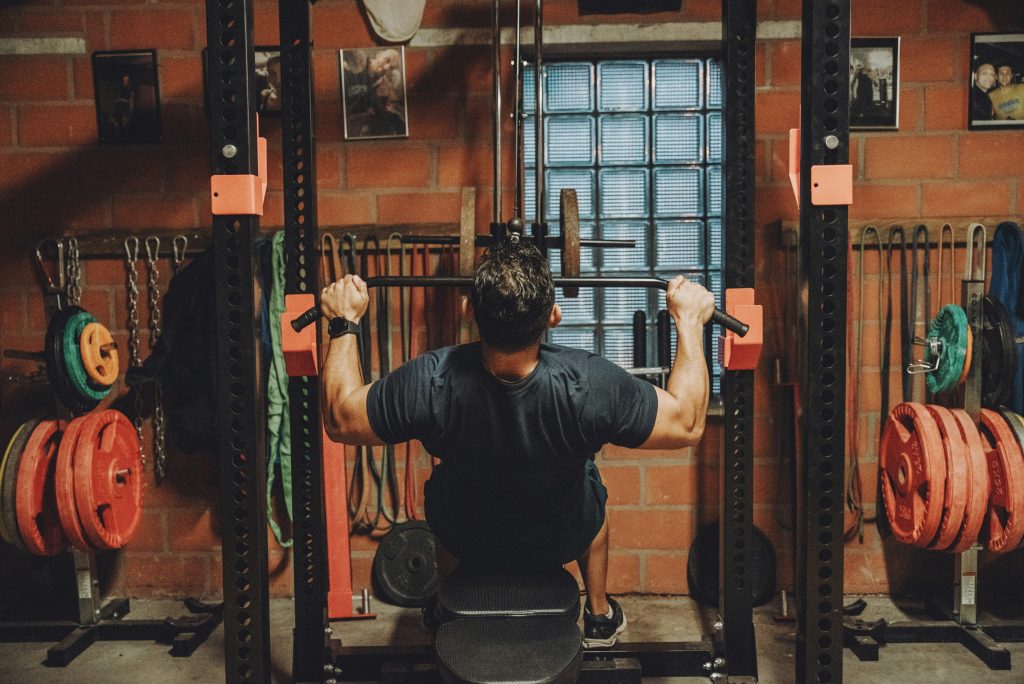
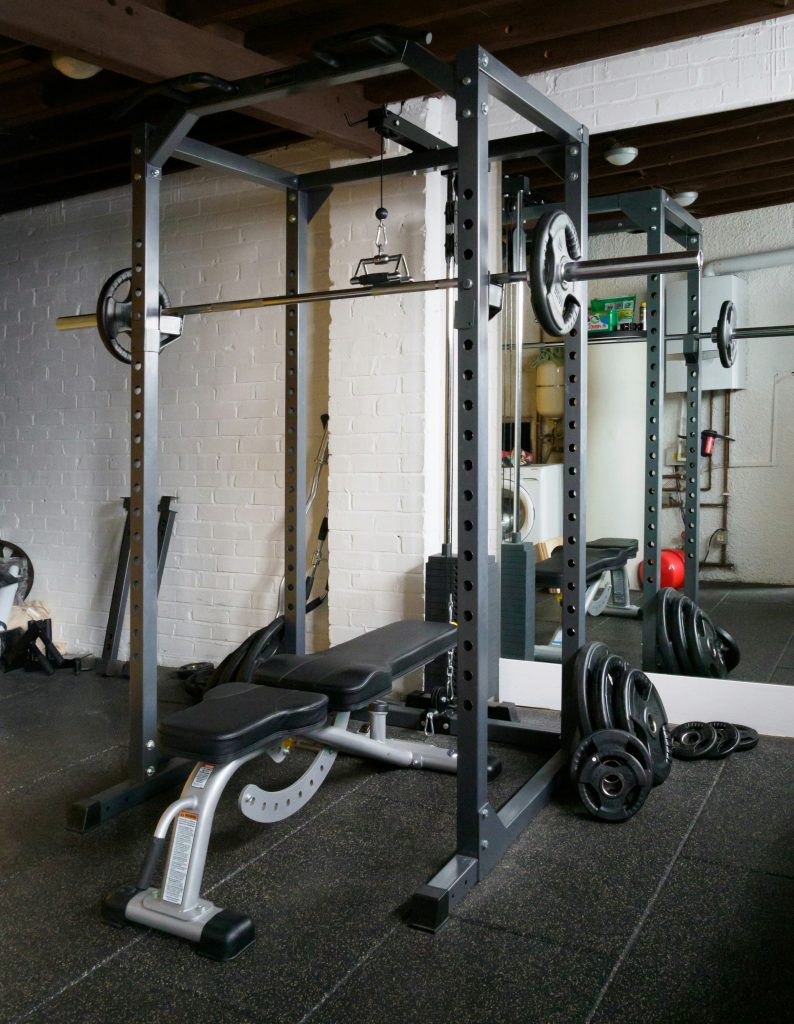
It all begins and ends with the Rack.
Barbell training and a rack go hand in hand. In short, there are three kinds of racks:
- The Power Rack, also known as a Cage: It has at least four uprights, is attached at the base on at least two sides, if not three; also attached four-ways at the top, with at least one pullup bar. The athlete performs the lift inside the cage, and safety pins between the uprights can catch the bar if the athlete fails the lift, making this the safest variation.
- The Half Rack/Attached Squat Stands: Two uprights, attached at the top with a pullup bar, and attached at the back for stability. You can generally attach spotter arms to the uprights, which replicate the function of the safety pins in the full rack to nearly the same effect.
- Detached Squat Stands: Two uprights that are neither attached at the base nor at top. They can be easily stowed away, but otherwise are much less stable than either of the previous options.
Your training experience and goals will affect the suitability of any of the above for your home gym.
Beginners need safety features, meaning either a Power Rack or a Half Rack (Attached Squat Stand)
Equipping a home gym for barbell training is where there can be a divergence between being a beginner and being on a budget. If you are a beginner, then we cannot leave any safety aspects to chance: you need to have spotter arms (in the case of a half rack) or safety pins (in the case of a power rack/cage), catching the weight if you fail a lift.
Failing a bench press without spotter arms/safety pins can quite literally kill you, crushing your windpipe. Failing a heavy squat could quickly put you into lumbar flexion and herniate a disc. The safety afforded by a full cage is well worth the investment: usually, a cage costs a little more than squat stands, because ceteris paribus, more steel implies more cost. If you maintain a conservative approach, a half rack is also viable. In both cases, we’re going to look at options that do not need to be bolted to the floor.
There’s a minimum in safety standards you need to screen for. The steel gauge must be no higher than 14, or about 2mm (higher is thinner), and the uprights should be at least 2×2 inches (or 5×5 cm). The holes in the uprights should not be any further than 4” apart – ideally much less. Any rack should also include a pair of J-Cups, which are essential for racking the bar. Some of them will have a weight horn or two to store weight plates, which have the added benefit of adding stability.
$500 focused on strength? Attached squat stands.

As stated above, squat stands come in two varieties: detached and attached. If you already know your way around heavy squats, and can manage your own training, but you’re still on a budget, then detached squat stands can be for you.
Detached stands have the advantage of being cheaper (circa $80) and can be stored away, but are inherently less stable, and have negligible (if any) spotter arms. They are advisable either if you plan on lifting light, or you are highly experienced and know how to work around these constraints. In other words, if you’re a beginner, you don’t have the experience to know how to train in a manner that consistently provides a stimulus that disrupts homeostasis and spurs an adaptation, and also do it safely, with detached squat stands.
This means you need to look at attached squat stands (also known as half racks), which are, at a minimum, attached at ground level with a bar horizontally connecting the bases. This adds a lot of stability to the rack, and if the steel is thick (and therefore heavy enough, i.e., at least 11 gauge), you can safely add spotter arms without tipping over.
But I strongly prefer squat stands that are also attached horizontally at the top of the uprights – with a pullup bar. Not only does it add even more stability, but it instantly makes the rack more versatile. This is often a viable option even at 14 gauge steel, especially if at the rear base of the rack, you have built-in weight plate storage (a vertical horn). Spotter arms are usually available as an accessory, making this option very suitable for a beginner on a budget. Cap Barbell has a starter model for around $120 for the rack, and another $30 or so dollars for 16” spotter arms. This will do the trick.
Having said this, I strongly recommend buying new racks as opposed to used, unless you’re already familiar with the specific rack you’re purchasing, AND, more importantly, you have a massive pickup truck to haul the rack over to your home. New racks are packaged in such a way that they are easier to transport and bring into your house. A used rack will already be disassembled, and they take up an uncomfortable amount of volume.
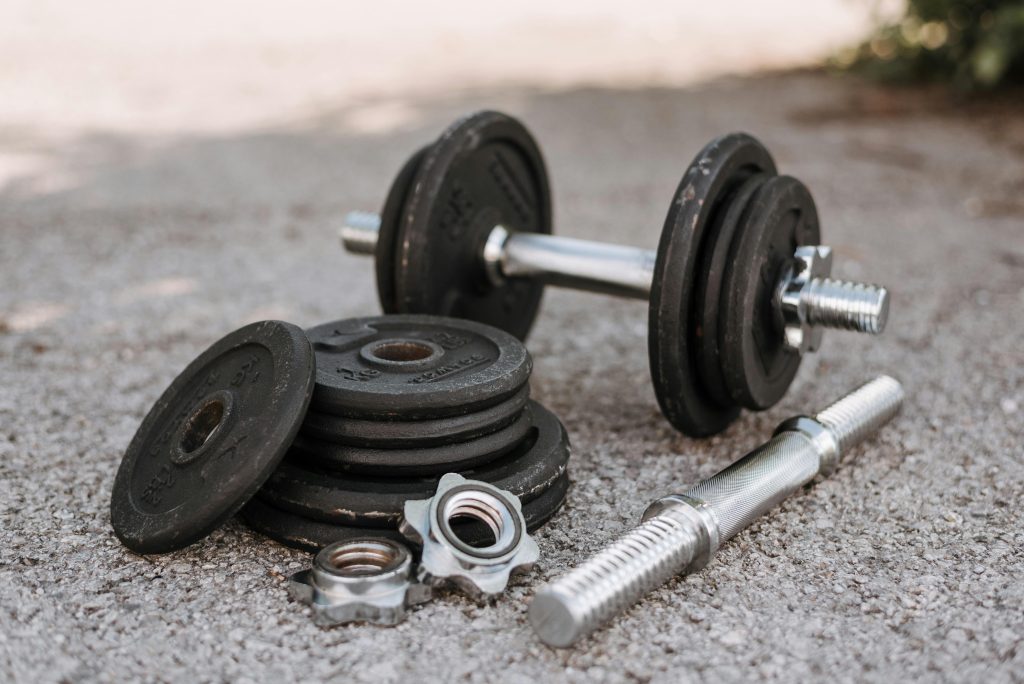
Barbells & Weight Plates: Your Path to Progressive Overload
That leaves us with barbells and weight plates. They are essential for progressive overload, which is the tried-and-true path to getting stronger. The barbell is a single item, but weight plates just pile up – physically, and in cost.
Barbells can be spec’d to a nauseating level of detail: tensile strength (measured in PSI), knurling types, bushings, etc. What this boils down to is: will you be performing Olympic lifts or training for competitive Powerlifting at home? If not, this highly simplifies the discussion: you want to buy a plain vanilla 7 ft 45lb Olympic barbell (if you’re a man; a woman will want a 6ft 35 lb barbell) without paying much heed to knurling, tensile strength, etc, and you want cast-iron or rubber coated weight plates – preferably used!
The reasoning here is simple: you need not concern yourself with whippiness, or whether the bar can load up beyond 700lbs, etc. There’s two opposing schools of thought here: either that the barbell is the single most important quality item to purchase, or that even a used beater bar can do the trick. My advice is: the entry model from a reputable vendor is the reliable value play (should be doable for $150).

The weight plates themselves can get very expensive, and you can refurbish used plates to look as good as new if you’ve got DIY-inclinations. You definitely want to save on weight plates. Buying new, you want to stay close to $2/lb overall. The heavier plates are better priced, the smaller ones are more expensive. However, this is an area where it pays to hunt for deals. I’ve seen a set of new 260lb (pairs of 45, 25 and 10lbs) rubber Bumper plates (which are usually more expensive than cast iron) go for $250. But, overall, aim to go used: a pair of 45, 25 and 10lbs (160lbs in total) can be fetched in the used market for $150 if you’re on the lookout. Same springs collars to secure the plates on the bar should be found for under $10. Clamp collars are fancier, but clips do the trick just as well.

If you’re proficient in the Olympic lifts or have a Total that will have regular gymgoers cower in fear, then you probably already know what you need. You’re going to be very meticulous about both the barbell and the weight plates. The former you’ll certainly want new, and the latter, you will specify wanting Bumpers, but those can still be bought used. But at this point, you’re also in the market for buying – or building – a platform for pulling from the floor (and probably dropping the weights).
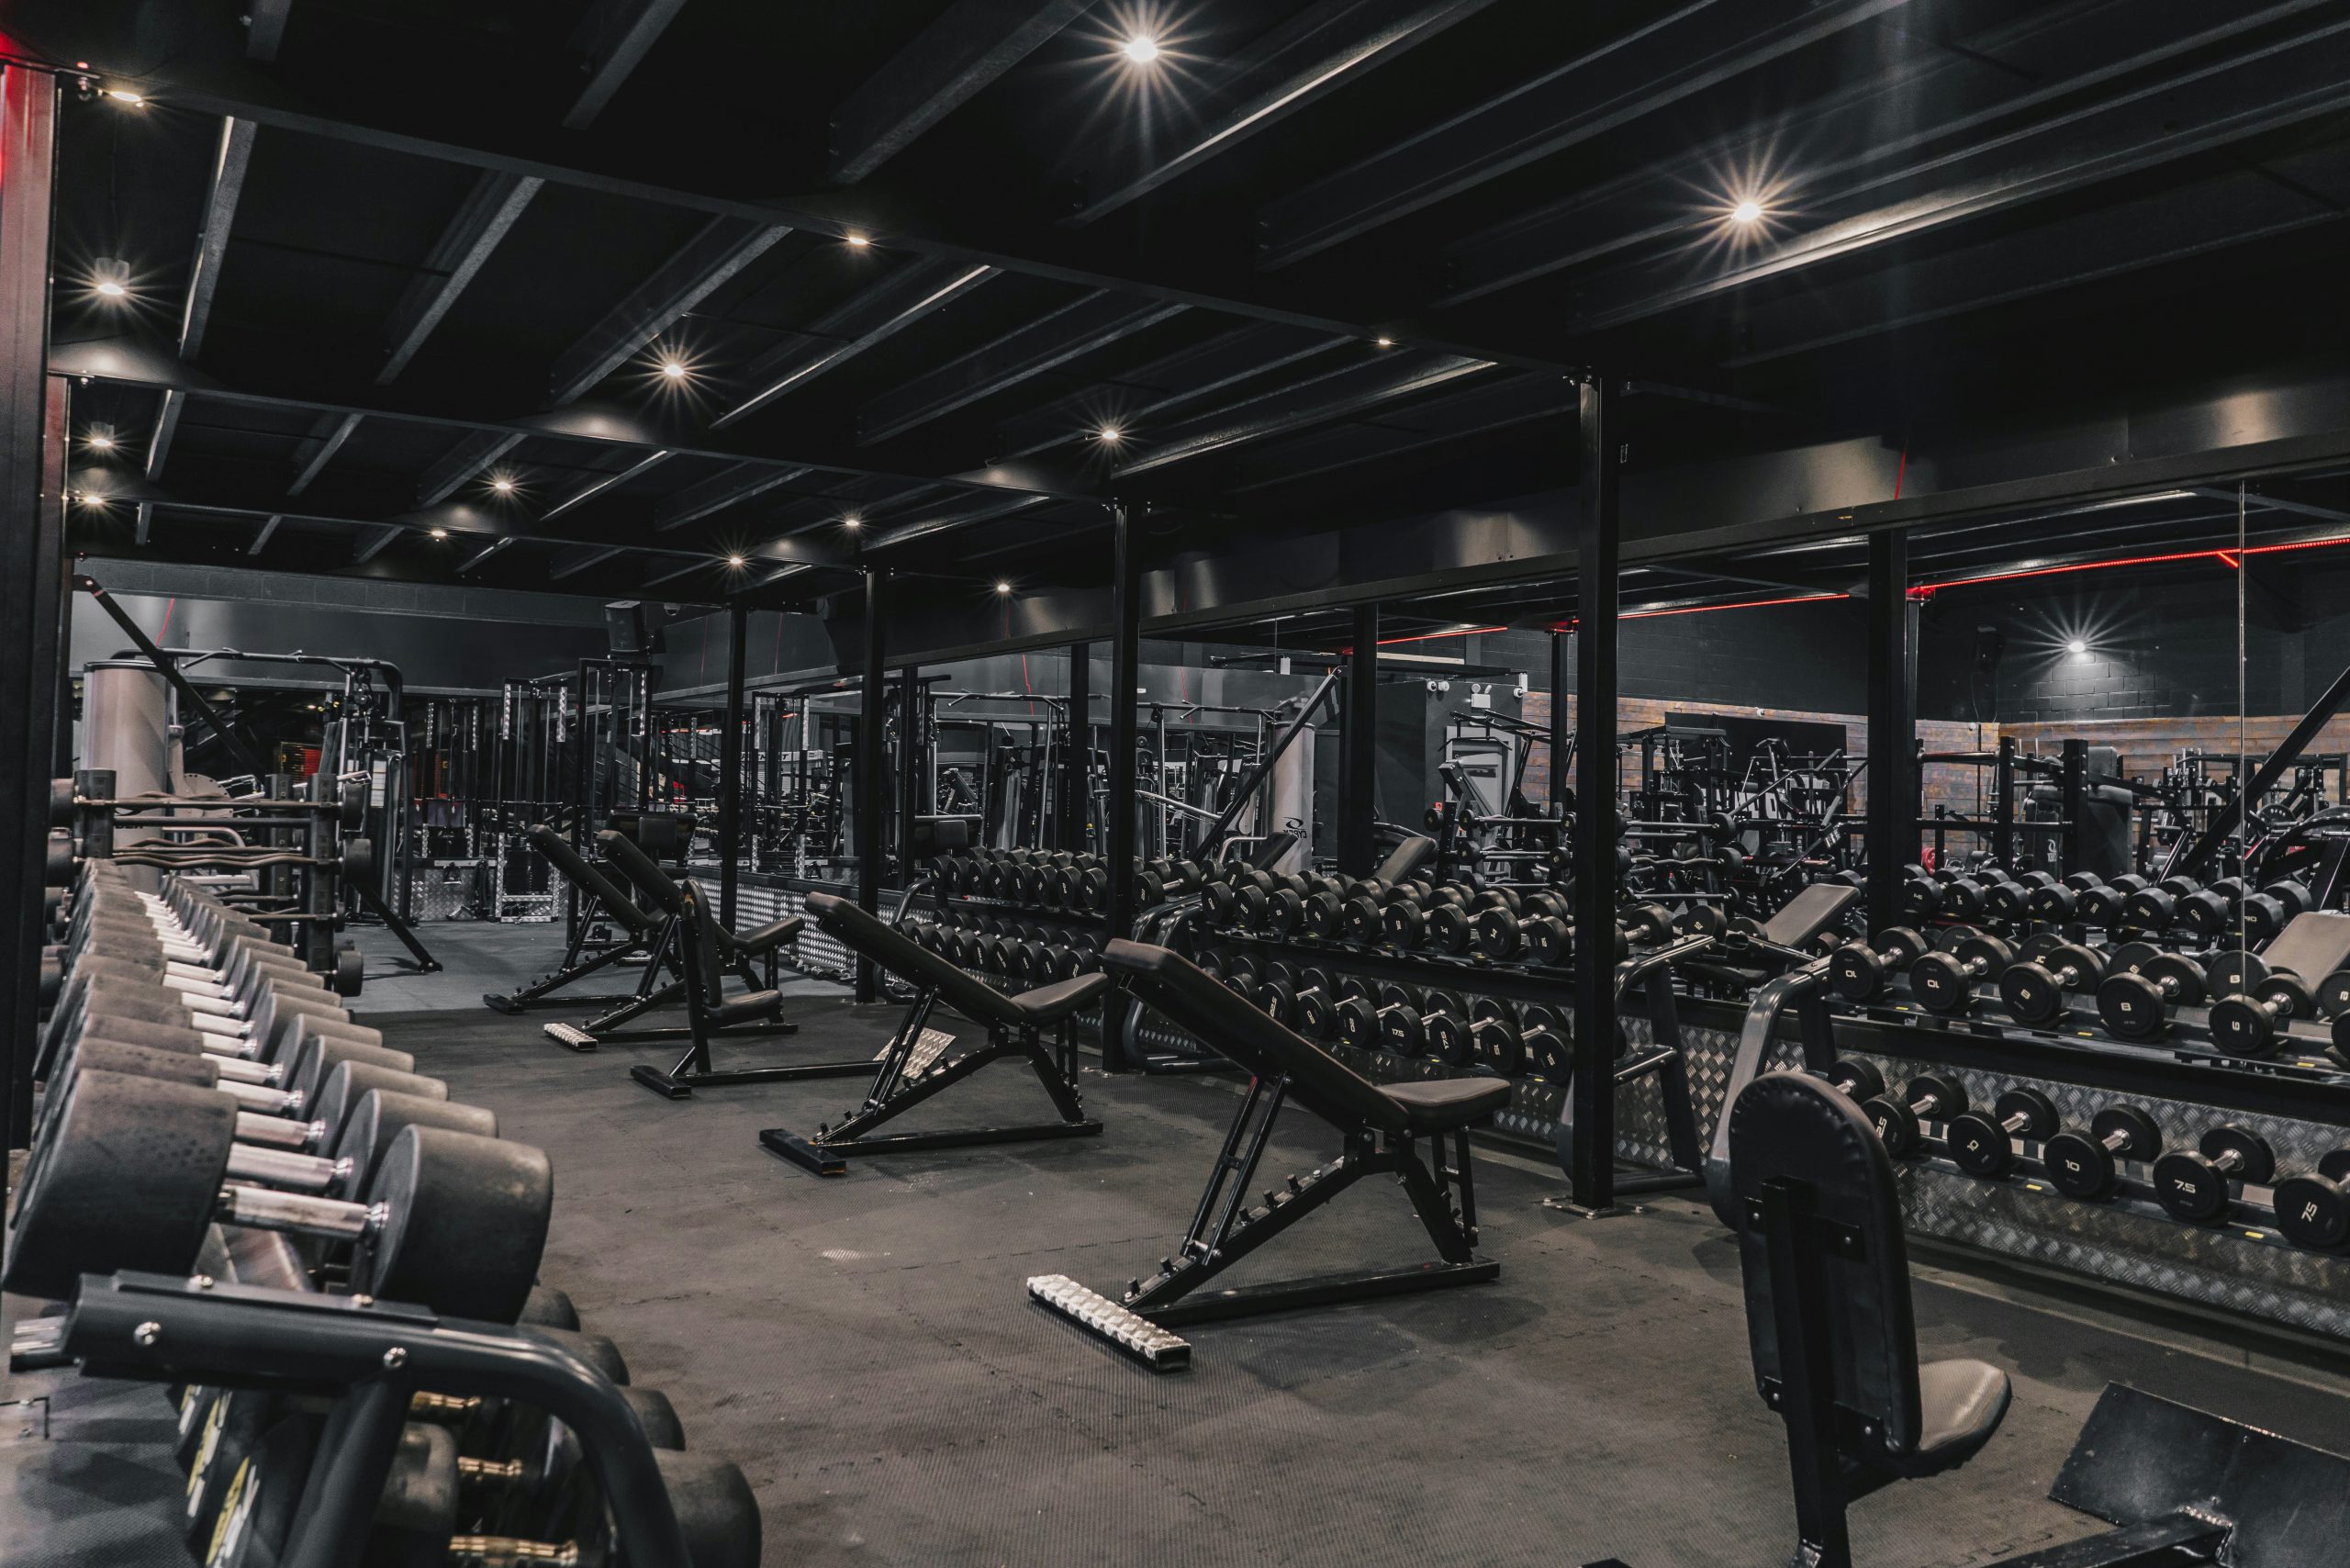
Tier 3: Replacing the commercial gym forever for $1,000
This $1,000 budget tier allows you to build a home gym that can truly compete with, and even surpass, many commercial gym experiences. This budget allows for a robust strength training environment. It’s about building a home gym that truly removes any excuse to ever step foot in a commercial facility again.
A cage instead of a half rack
Generally speaking, cages are preferable to half racks/squat stands. They are almost always connected at the top by a pullup bar, and very often have some pegs where you can store weight plates, making them extremely versatile. You can attach bands to the pullup bar for a tricep pulldown, or to the bottom of the uprights to perform leg exercises. But, in some cases, a cage isn’t necessary. Either way, at a minimum, all of these options should include a pair of J-Cups, which are essential for racking the bar. Some of them will have a weight horn or two to store weight plates, which have the added benefit of adding stability.
We didn’t recommend them in Tier 2 because they would blow the budget. However, for Tier 3, cages that meet our requirements can be found for around $250. This will be the centerpiece for the $1,000 home gym.
Cheaper cages carry the risk of being made with 16 gauge (1.5mm) or even thinner steel, which does not give me confidence that it can handle the weight. The 2×2” uprights of 14 gauge steel can’t compete with the commercial grade rigs you’ll find a subscription gym or CrossFit box, but they can handle 700 to 800lbs of weight, which is more than the genetic ceiling of 99% of our readers. A 16 gauge rack will struggle to even handle half of that. That’s a huge difference. Half racks generally cannot handle as much load as a cage, especially if they aren’t secured down by weight plates. However, I’d still take a 14 gauge half rack over a 16 gauge cage six ways to Sunday.
Stronger flooring
The power rack can scrape against your floor a bit, especially if you’re forcibly re-racking a few hundred pounds. Not to mention if you’re pulling from the floor – the weight that comes up, must come back down. We’re going to go again with interlocking tiles, but instead of EVA foam, we’re going with roughly ½” thick rubber tiles. This will protect your floor from deadlifts and even Olympic lifts. 48 square feet can be found for $100.
Same bar, more plates!
The barbell we recommended in Tier 2 is perfectly valid for Tier 3, as is the bench for both Tier 1 and 2. The difference is that now we can add more weight plates.
With the bench, cage, barbell and flooring adding up to around $550, the rest of our budget is basically allocated towards loading up the barbell.
The weight plates themselves can get very expensive, and you can refurbish used plates to look as good as new if you’ve got DIY-inclinations. You definitely want to save on weight plates by purchasing cast iron, not rubber-coated or bumpers, unless you find an excellent deal. Buying new, you want to stay close to $2/lb overall. The heavier plates are better priced, the smaller ones are more expensive. However, this is an area where it pays to hunt for deals. I’ve seen a set of new 260lb (pairs of 45, 35, 25, 15 and 10lbs) rubber Bumper plates (which are usually more expensive than cast iron) go for $250. But, overall, aim to go used: a pair of 45, 25 and 10lbs (160lbs in total) can be fetched in the used market for $150 if you’re on the lookout. Same springs collars to secure the plates on the bar should be found for under $10. Clamp collars are fancier, but clips do the trick just as well.
If you’re proficient in the Olympic lifts or have a Total that will have regular gymgoers cower in fear, then you probably already know what you need. You’re going to be very meticulous about both the barbell and the weight plates. The former you’ll certainly want new, and the latter, you will specify wanting Bumpers, but those can still be bought used. But at this point, you’re also in the market for buying – or building – a platform for pulling from the floor (and probably dropping the weights).
Summing up the $1,000 home gym
| Item | Price (new) | New/used |
|---|---|---|
| Flat bench | $46 | New |
| Power rack (cage) | $250 | New |
| 7ft, 45lb barbell | $150 | New |
| 48 square feet of interlocking tiles (½” of rubber) | $100 | New |
| Pre-weight plate total | Just under $550 | |
| Available for weight plates | $450 | |
| Feasible weights if new | Circa. 225lbs of plates | |
| Feasible if used | Circa. 450 lbs of plates | |
| Accessories (if leftover from weight plates) | ||
| Set of resistance bands | $25 | New |
| Jump rope (optional) | $8 | New |
Depending on how heavy we plan on training, we see that we can go up to 495lbs (the famous “5 plates” weight) with a 45lb barbell and 405lbs of used weight plates, along with protective flooring, a full power rack that allows for pullups, and a bench.
If we don’t need to go that heavy, the savings can be applied to buying new plates, or bumper instead of cast iron; we can also reincorporate elements of the $200 gym to blend pure strength training with some light cardio and accessory work with dumbbells, a kettlebell, bands, and a jump rope.
A further accessory could be a suspension trainer; this kind of equipment, like Kleenex, is a category often directly referred to by its most famous brand – TRX – but similar products can be found for $10 or $20. This can be tied to the power rack’s pullup bar, allowing for a dozen more exercises.
This kind of home gym allows the owner to never, ever have to go to a commercial gym again.
Smart Buying Strategies: New vs. Used & Where to Look
New vs Used broadly boils down to whether it’s a piece of equipment you’re going to use, or whether it’s something you’re going to load. For equipment you’re going to use, most of the time (but not always), you’re going to prefer new. If it’s equipment you’re going to load, then there’s a strong case for used.
Let’s try some examples.
A bench? This is something you use. Its stability is not something you want to speculate with. Plenty of viable benches can be bought new at a competitive price.
A pair of 30lb dumbbells? This is a load. If it’s been lifted 10,000 times in a commercial gym, it’s still going to perform its function just as well the 10,001st time as it would the 1st time, unless it’s obviously broken. Classic case where used makes sense.
Similarly, a suspension trainer? Use. A kettlebell? Load. A pullup bar in your door frame? Use. A pair of 45lbs plates? Load. An exercise bike? Use – it has electronics!
You get the gist.
Where there can be a bit of a gray zone is when there’s a lot of steel involved, like a power tower (a three-in-one piece of equipment for pullups, dips and ab raises), a squat rack, or a barbell. Although they are technically closer to “use” than “load” (which would suggest we buy new), they are big ticket items, and if they’re of sufficient quality and the previous owner didn’t completely trash them, they can still perform their function as a piece of used equipment.
These aren’t items you’d ever expect to break in your home gym. They’re supposed to last forever (or pretty close). So, while they can sport some wear and tear, it shouldn’t affect their functional integrity, nor are you going to be irrevocably grossed out by the thought of someone else’s sweat on them (a towel wipe takes care of that very effectively).
As for where to find the right new and used items, wouldn’t it be great if there an online marketplace dedicated to this kind of equipment, where you skip over the knock-offs that commoditized import-export businesses peddle on generic, mass-market marketplaces?
Setting Up Your Space: Tips for Any Home
The quintessential American home gym is usually pictured in a garage. But is that the only place you can set one up? Absolutely not! There are plenty of alternatives.
The basement is the most common alternative to a garage. But, plenty of people have a spare bedroom in their homes, and instead of converting into a guest bedroom or a home office, they fit in a home gym.
I’ve also seen (and personally built) more creative options, such as an outdoor gym with a view.
That said, let’s go over the ideal and some not-so-ideal settings for the various gyms we’ve analyzed here.
The $200 gym: this is perfect for those living in an apartment. Almost all the items can be stowed away, there’s no impact on the ground (which really matters for neighbors), and is extremely space efficient. It can be kept in the living room, in the master bedroom, or a guest room. Live in a detached home instead of an apartment? The above still apply, of course. Personally, when I set up a home gym in a 3rd floor apartment, it was very, very similar to this one.

The $500 enhanced crossover gym: given that it’s essentially an enhancement of the $200 gym, it works well in the same settings. It’s a bit bulkier (especially if you opt for the more cardio-oriented version with the bike), so it might be better off in a dedicated small room, but it’s still a flexible solution when it comes to living situations.
The $500 minimalist strength training gym: this is frankly much better suited to a garage or a basement. For starters, we stretched the budget as much as we could on steel items, and we didn’t purchase rubber flooring. We really don’t want to think what would happen if you slammed 185lbs into a steel half rack against 19th century wooden floors, do we? But on cold concrete lining our garage floors? Doable. Carpet? Borderline; proceed at your own risk and discretion. Outdoors? Fine, as long as the ground is level.
The $1,000 home gym: this is also best suited for a garage or a basement, but with the flooring, it could also be on a first-floor spare room. I specify first-floor, because repping out 315lb deadlifts or squats (which need to be re-racked) on a second floor will feel like an earthquake to anyone beneath. And, while modern building codes generally can handle such loads without posing a structural integrity risk, this is really not something you want to approach casually. If you plan on Olympic lifting and dropping 135lbs from a snatch, you should not be allowed on anyone’s second floor, period. This kind of gym can also be built outdoors (as above, provided the ground is level).
So, some home gyms can be placed anywhere, but others can be a bit more restrictive, and others are sometimes the “only and best solution”.
Conclusion: Your Budget Home Gym Journey Starts Now!
We’ve explored how you can build a highly effective home gym across different budget tiers, from the bare essentials at $200 to a comprehensive setup at $1,000 that rivals commercial facilities. Your journey to fitness, freedom, and self-improvement truly begins when you take control of your training environment.
So, now it’s your turn: which home gym best matches your needs and aspirations? Take a moment to consider which path resonates most with you:
- $200 Absolute Basics: For functional fitness and essential bodybuilding.
- $500 Enhanced Functional Fitness and Bodybuilding Crossover: For expanded versatility and more dedicated accessories.
- $500 Minimalist Strength Training: For a solid foundational barbell setup.
- $1,000 Never Strength-Train in a Commercial Gym again: For a robust, comprehensive home gym experience.
Remember, building a home gym isn’t just about the equipment; it’s about investing in yourself and creating a space where you have the freedom to pursue your fitness journey on your own terms. It’s about building your future and your own self-improvement, day by day.
Your Ultimate Home Gym Awaits
Ready to take full control of your fitness journey and unlock gains?
Join the HomeGymMarket Insider list to get exclusive access to future guides, expert insights, and be the first to know when our game-changing marketplace, connecting you directly with top-quality, liquidated gym equipment, launches!
JOIN THE HOMEGYMMARKET INSIDER LIST & SAVE BIG!
We respect your privacy. No spam, ever.