Most runners focus on running, not lifting. And they’re starting to hear – from doctors, general wellness journalists, and even, well, runners’ social media – that strength training is essential. Being stronger helps you run faster and avoid injury. Especially after 40. But that doesn’t make it any more fun to read – or implement. Going to the gym conjures up images of bicep curls, which have helped no runners – ever. But getting dumbbells at home just changes the venue, without changing the training experience. And, let’s be frank, runners don’t have the same relationship with a barbell that, say, an American football player does. So, what’s the best way to build an excellent home gym for runners?
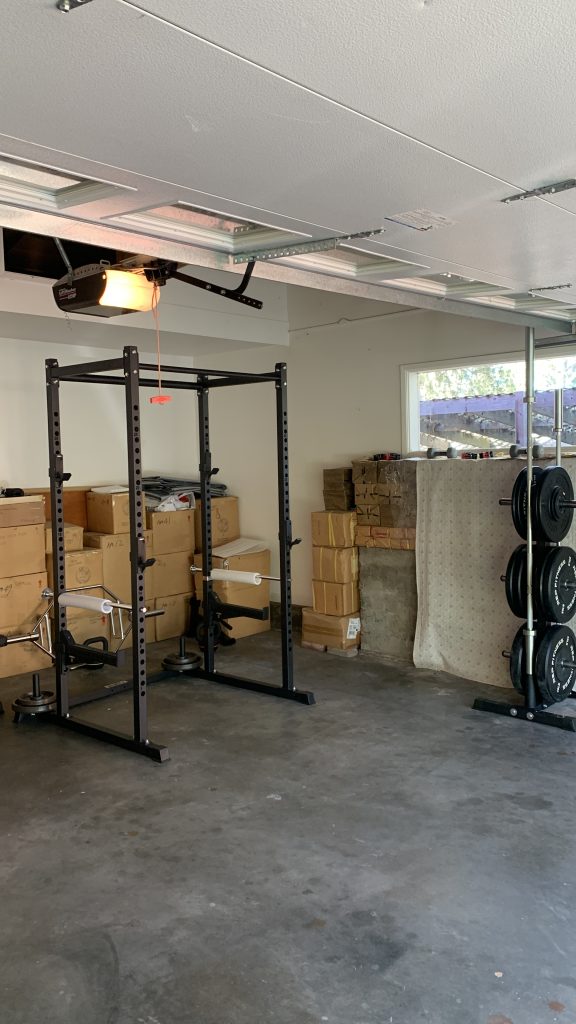
The very best strength training setup is the classic tried-and-true formula of a barbell, weight plates, and a squat rack. We have ample guidance for each of these components. But this setup might be unsuitable for runners, and might result in overpaying for the value derived. We are submitting an alternative here that will deliver almost the same results, on a much lighter budget, and a much smaller footprint.
Build strength without the distraction of lifting technique
Let’s triangulate three oft-repeated pieces of strength wisdom from a runner’s perspective:

The modern runner faces a dilemma.
On one hand, the experts are clear:
- Squats and deadlifts build unparalleled lower body strength for performance and injury prevention.
- Progressive overload – lifting heavier over time – is the key to real strength gains, not endless reps with light weights.
- Solid lifting technique is non-negotiable to prevent injury, especially at the heavier loads needed for true strength.
- The runner inevitably thinks: “So, I have to spend time learning the complex technique for these lifts, to perform a kind of training that doesn’t even appeal to me, just because some experts now think I need it for my sport?” Understandably, that’s a turn-off. It feels like a distraction from the real training: running.
This is where traditional advice falls short for a runner. It forces a choice between dedication to running, and a confusing, time-consuming detour into barbell mechanics.
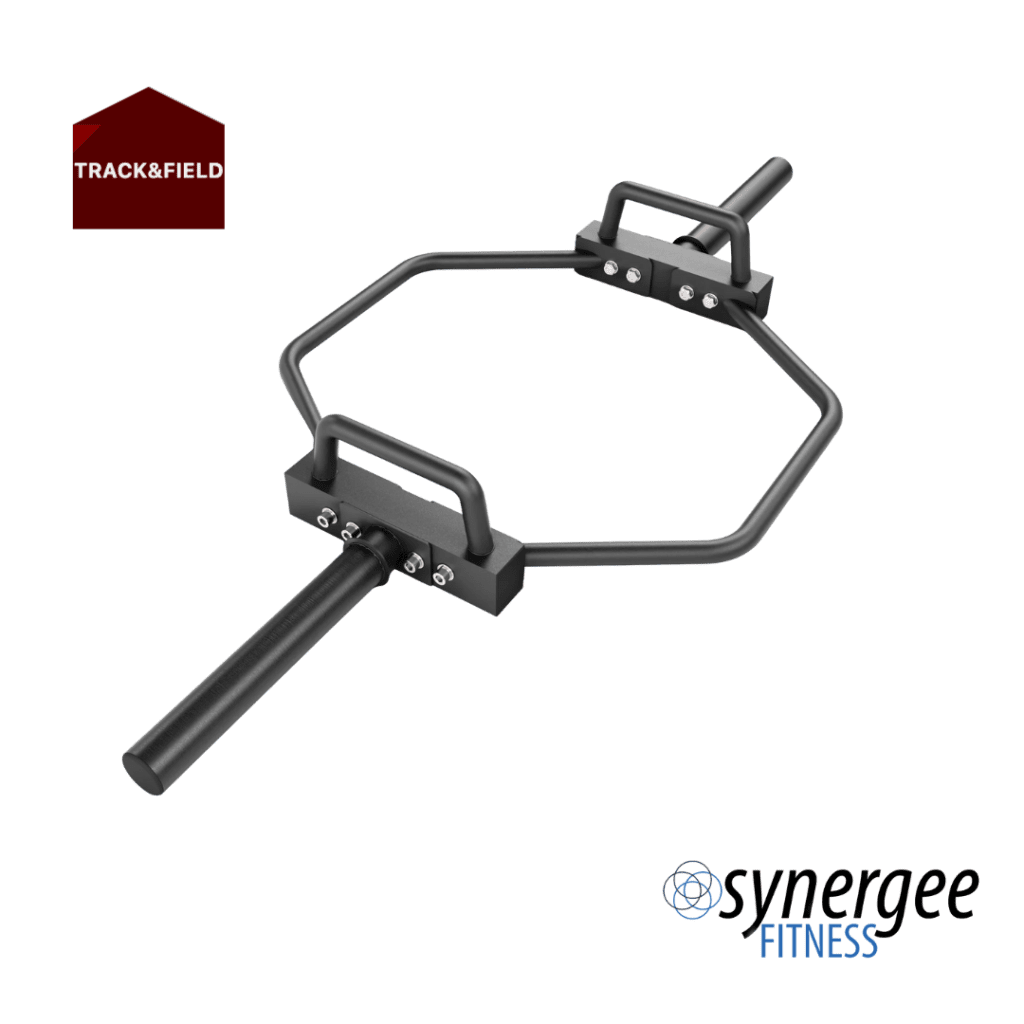
Enter the trap bar deadlift: the easiest way to build athletic strength
The trap bar deadlift is the cheat code for this kind of athlete. It’s a classic 80/20 solution: it requires 20% of the technique of squatting and deadlifting, but delivers 80% (or more) of the training value. (This is assuming the athlete uses the high handles; the low handles require a bit more skill, and deliver even more value, more like 95%).
It can’t be any easier to use. You step inside, crouch down until you can easily grab the handles, and stand up with the weight.
Here’s why the trap bar deadlift is ideal for athletes, and should be the central item in a home gym for runners:
- Versatile Movement: Blends the benefits of a hip hinge and a squat, hitting crucial running muscles effectively.
- Effortless Technique: Far simpler and more intuitive to learn than a traditional barbell deadlift, minimizing injury risk and frustration.
- Athletic Carryover: Generates more power (force expressed quickly) than traditional squats and deadlifts, translating directly to faster sprints and higher jumps.
- Reduced Spinal Load: The neutral grip and centered load are much kinder to the lower back, allowing for effective strength building without unnecessary strain.
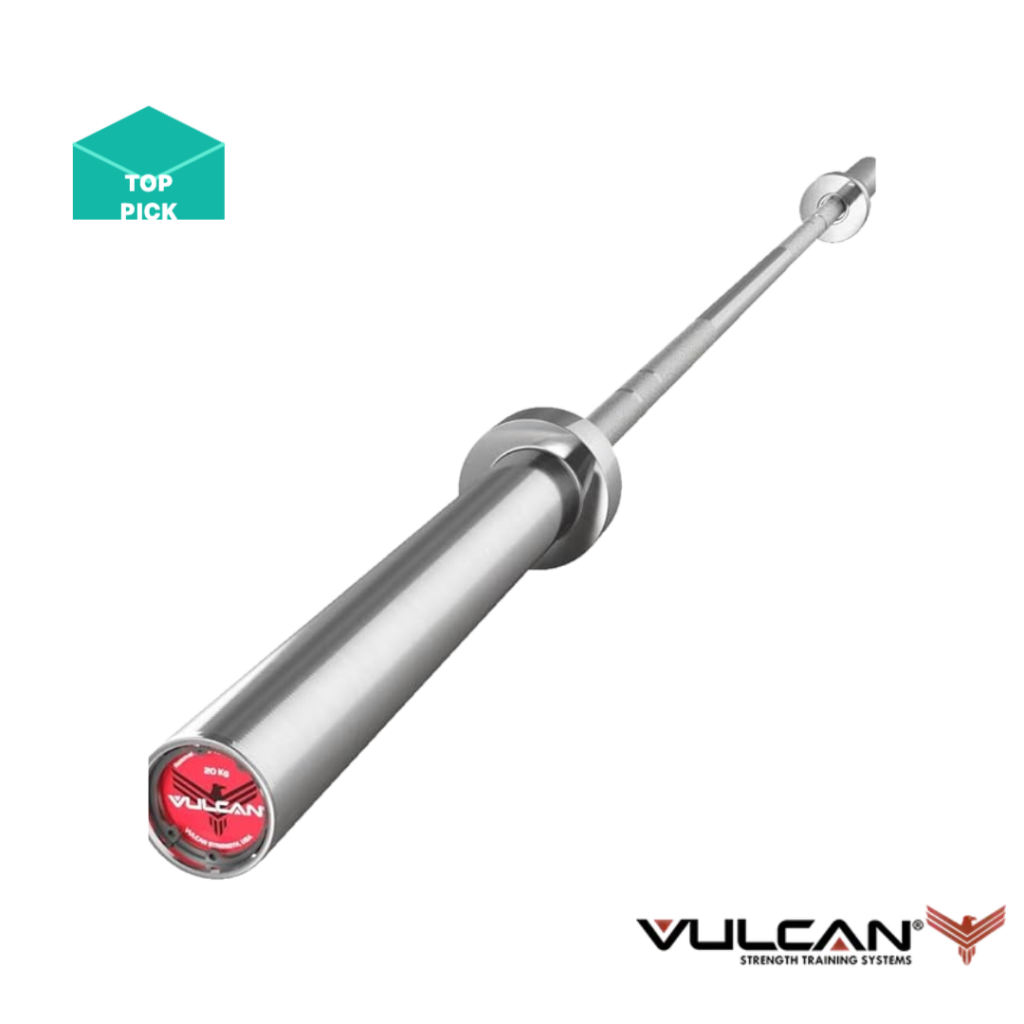
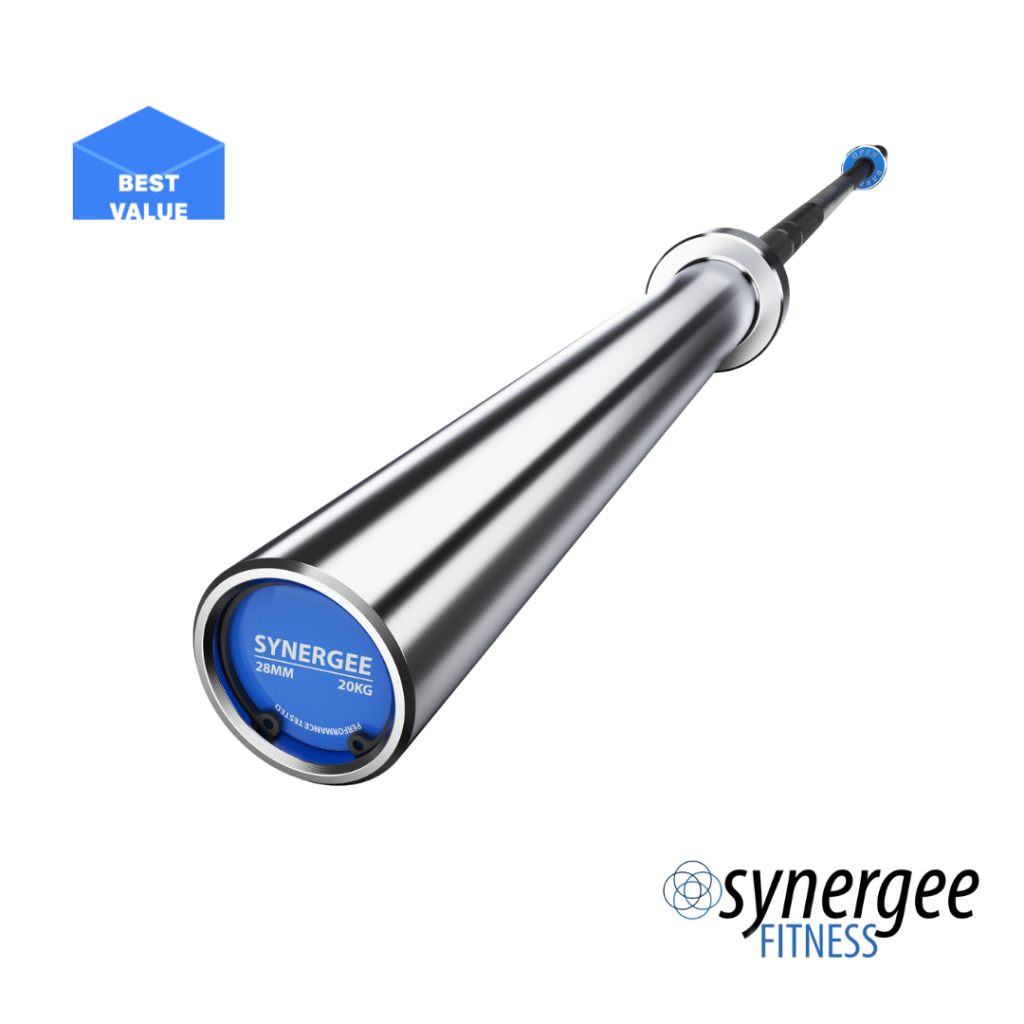
So, what’s the right trap bar for a runner?
You plan on getting STRONG
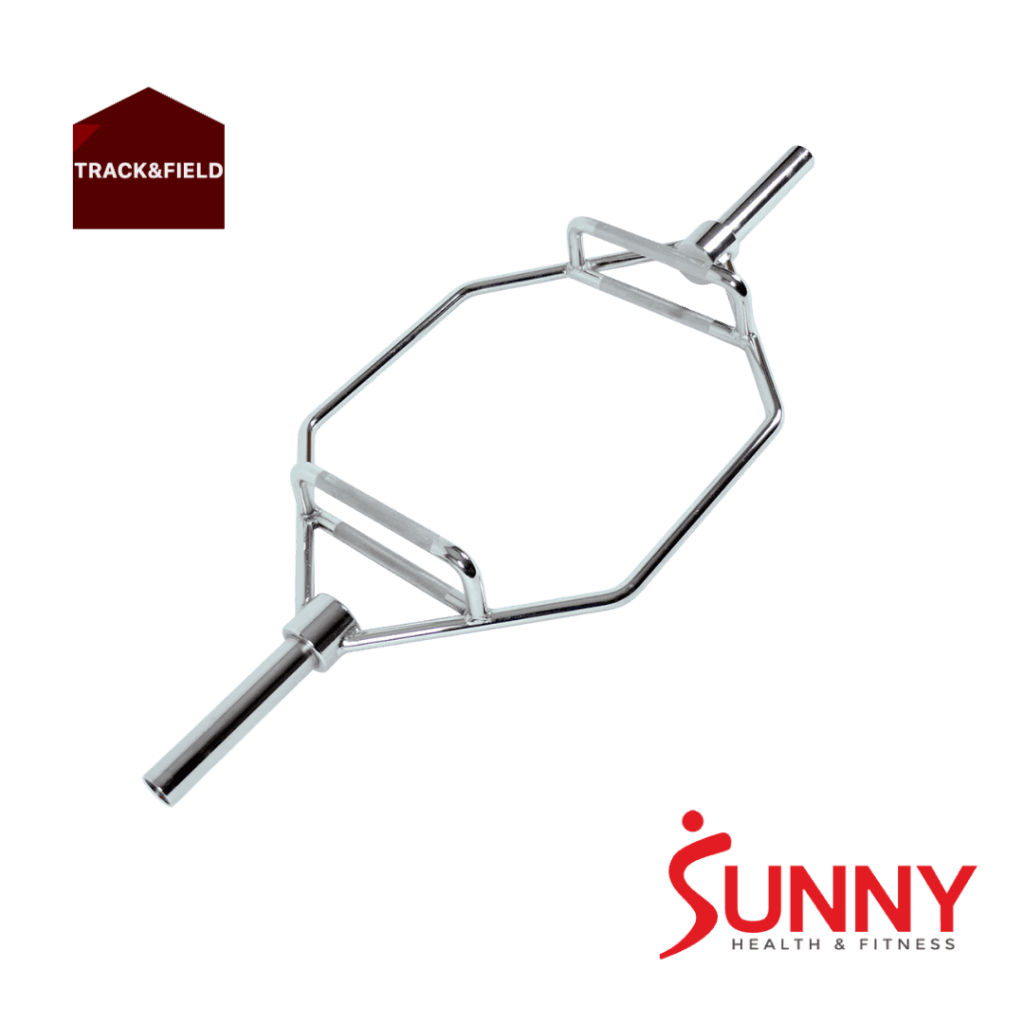
Lifting 200lbs is enough for you
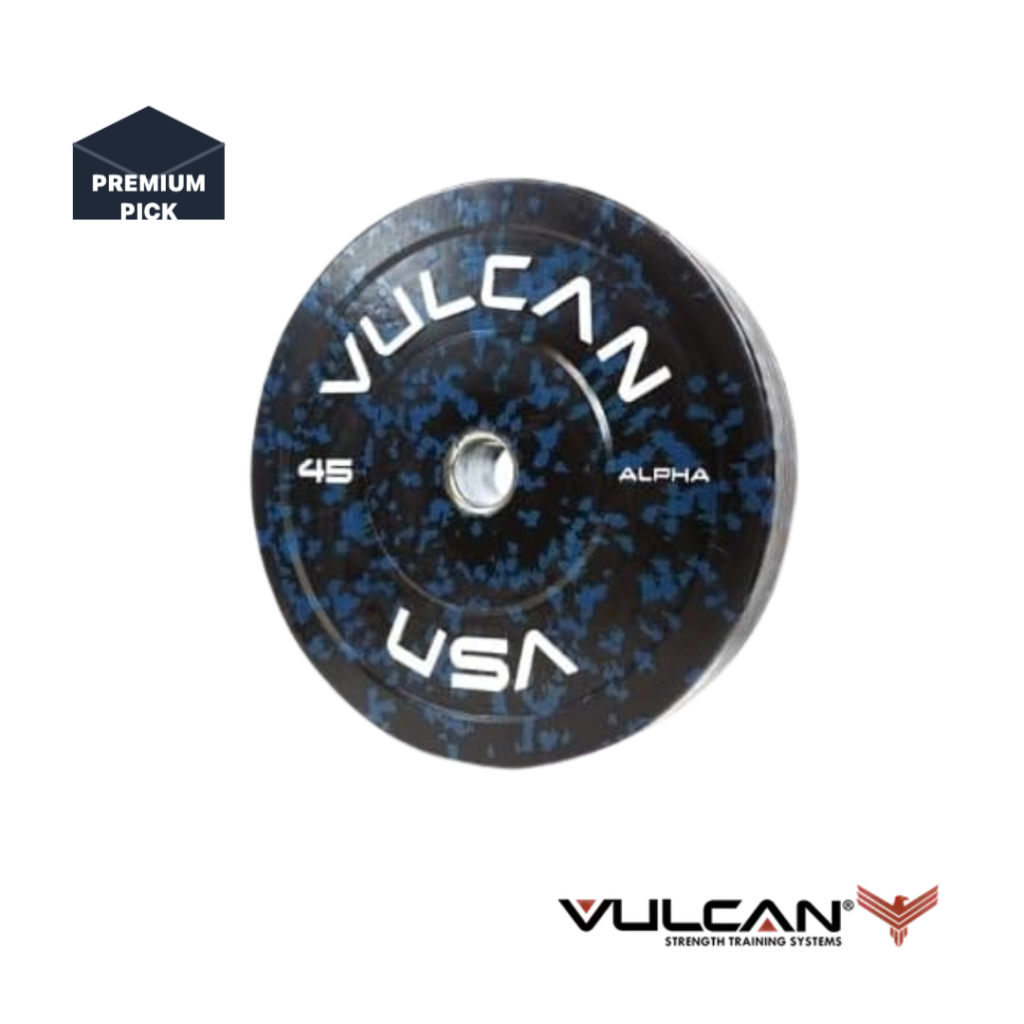
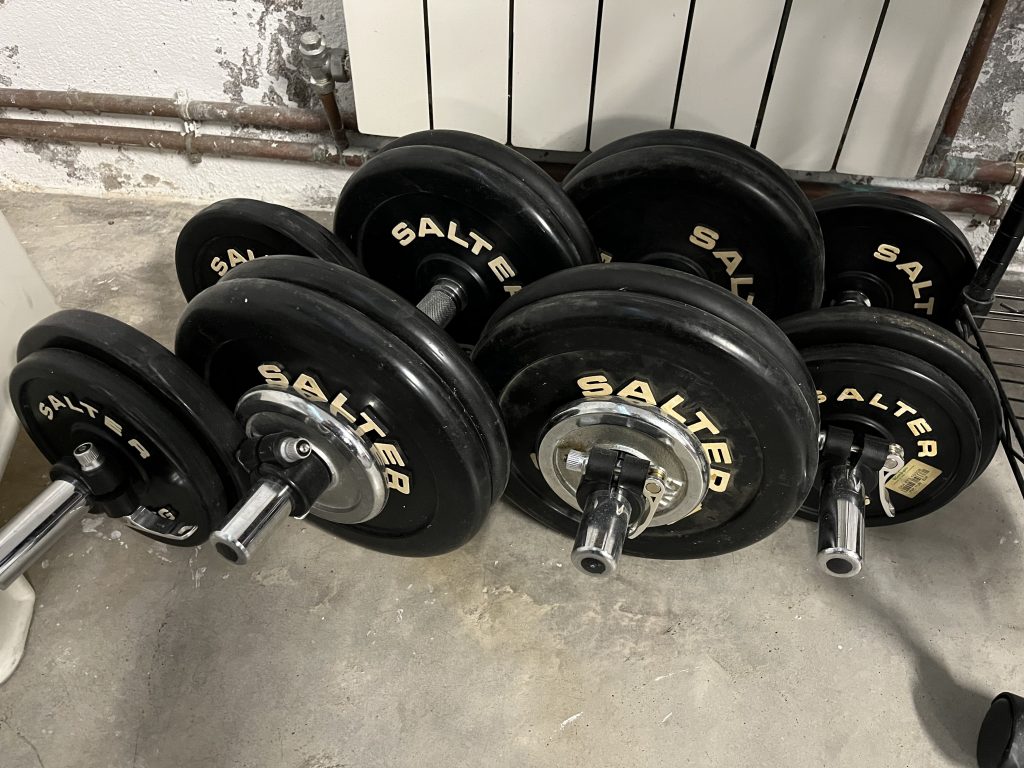
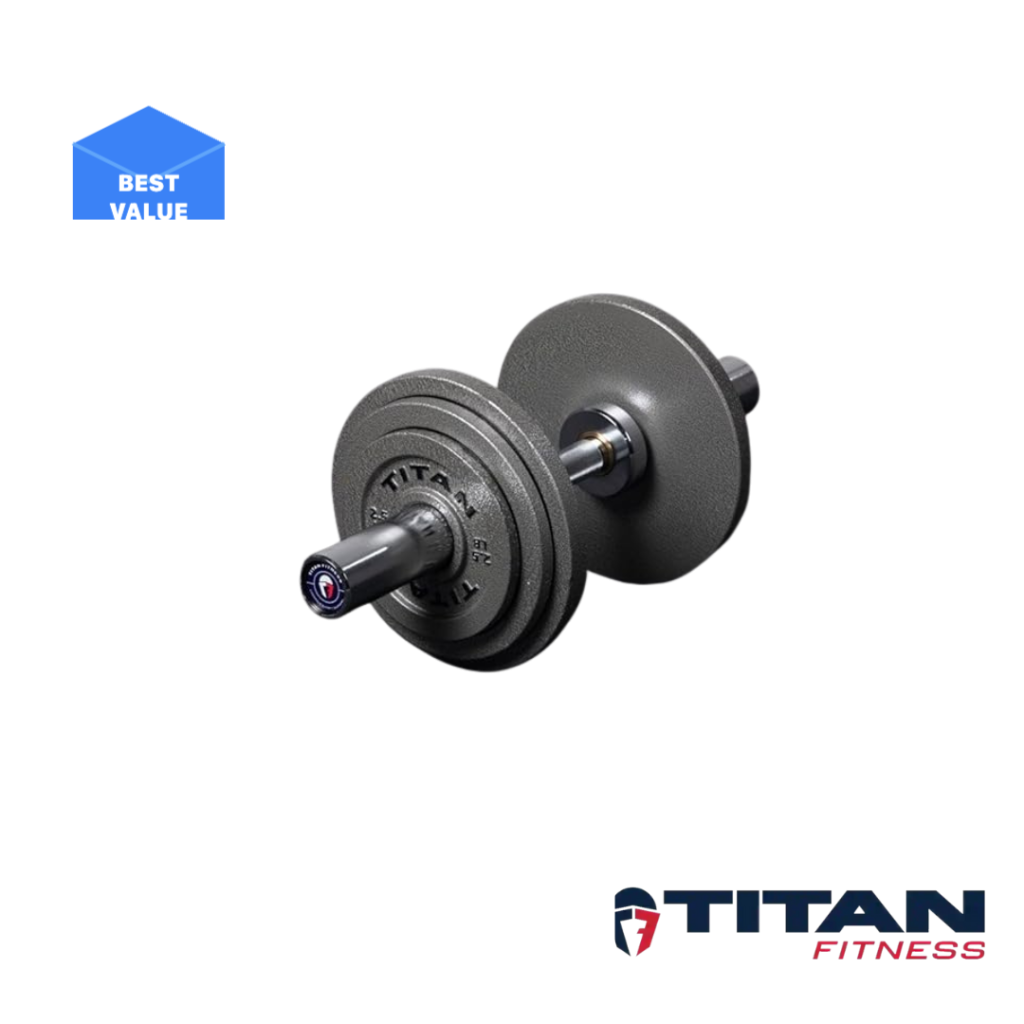
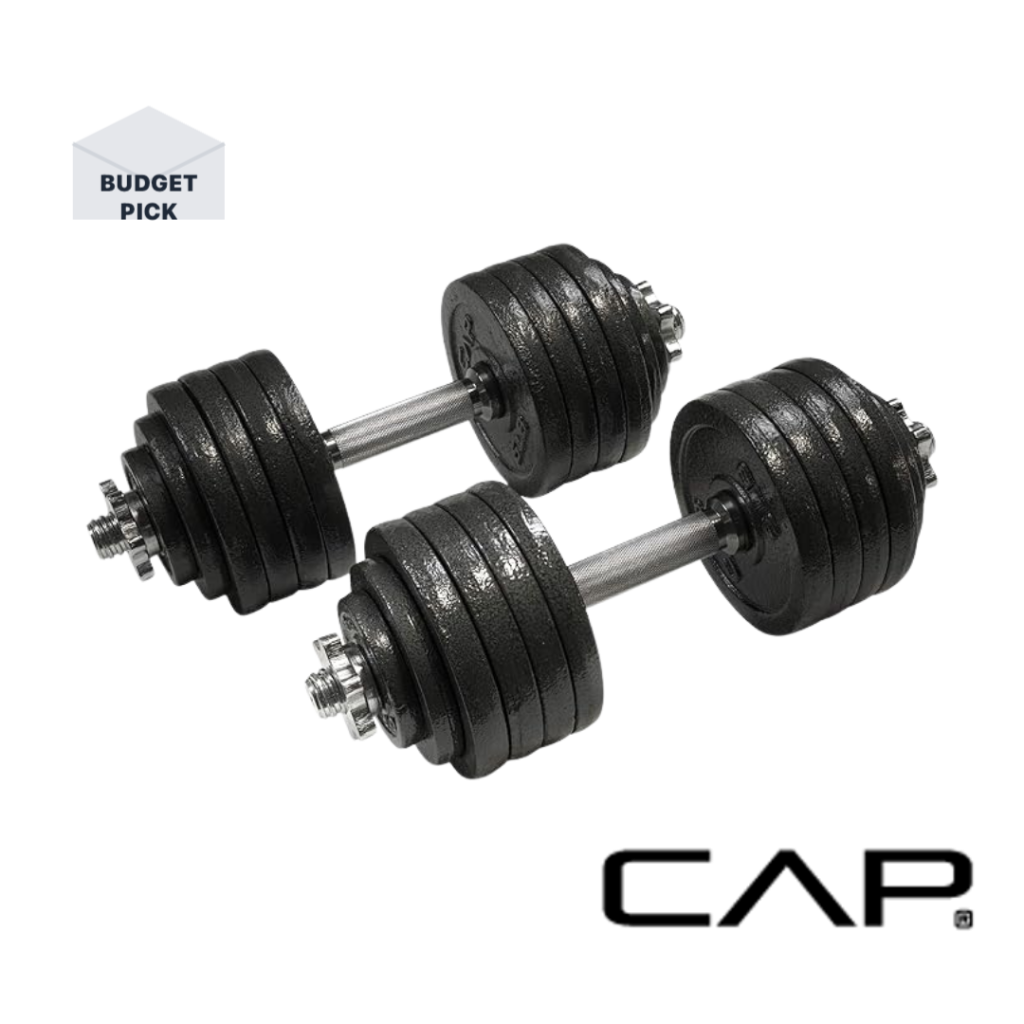
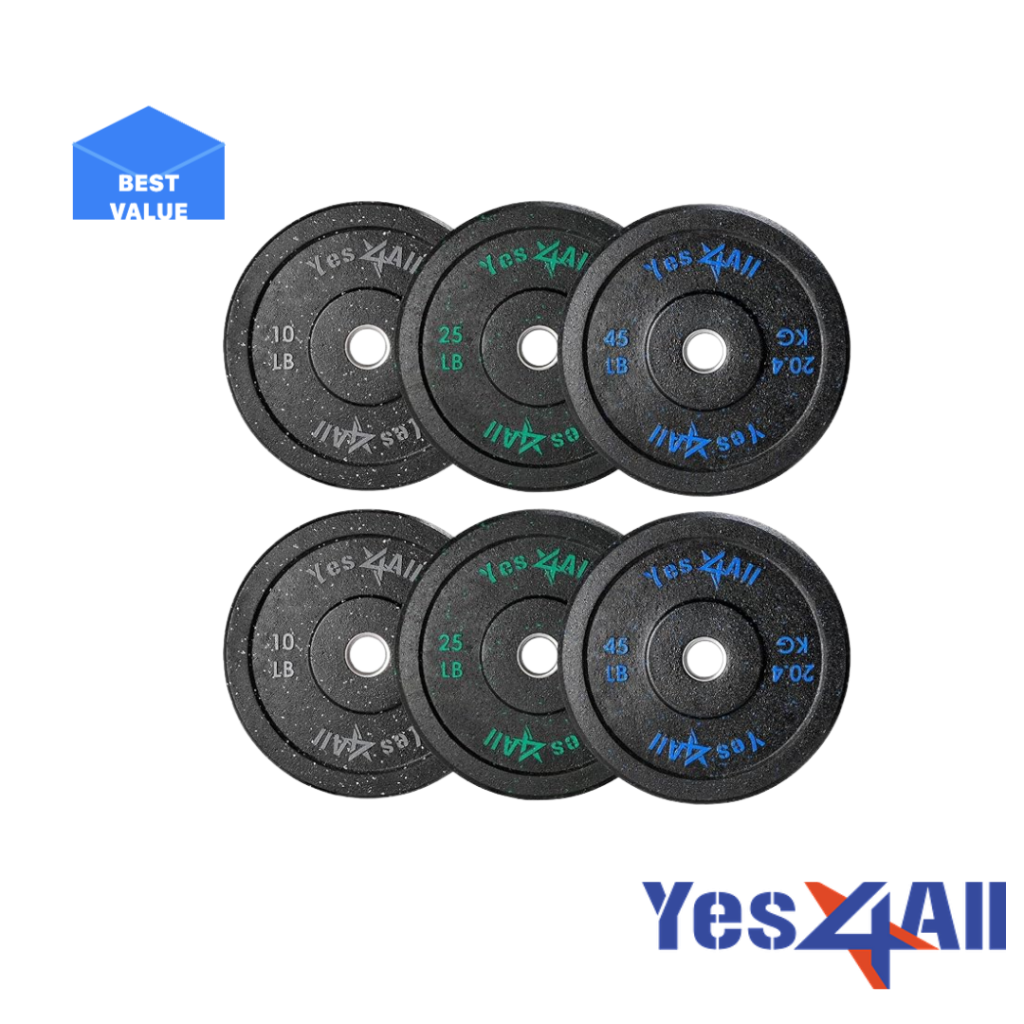
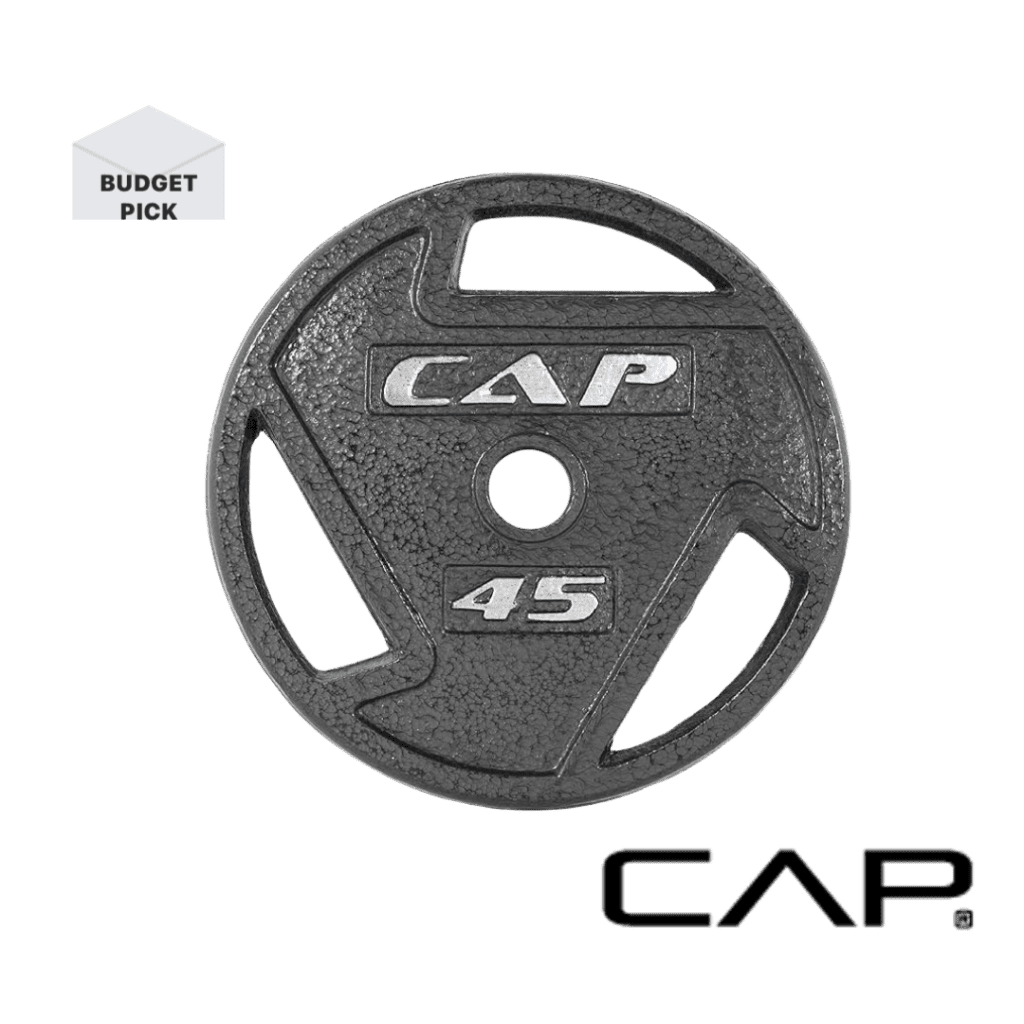
You’ve got the bar, but how are you going to load it? Weight plates.
Weight plates for a runner using a trap bar are really no different from weight plates loaded into a barbell. To get smart on weight plates, read our dedicated weight plate guide. I mean it: it tells you what you need to know to make the next decision.
And that decision is: how many, and which, bumper plates to purchase, at a minimum. The rationale is that you want bumpers to be what touches your floor, and the bumper should be the heaviest plate(s) you load onto your trap bar’s sleeves. However, when loading up additional weight, it might be a smarter move to use cast iron weight plates, which have a smaller diameter, and can often be cheaper on a $/lb basis. The reason you want the bumper to touch your floor is that rubber is going to be a little easier on your flooring, and a lot less clangy.
You also want at least half the total load to come from bumpers; otherwise, you risk damaging the bar. This is because when the full load comes to a stop, you are distributing the impact between the floor and the bar’s sleeves. Shifting too much of the burden on the bar’s sleeves can damage them over time. Ie) if you’ve loaded one 45lb bumper, and then intend on adding cast iron plates, make sure you add no more than 45lbs of cast iron plates. Two 25lb cast iron plates, for example, would not be recommended.
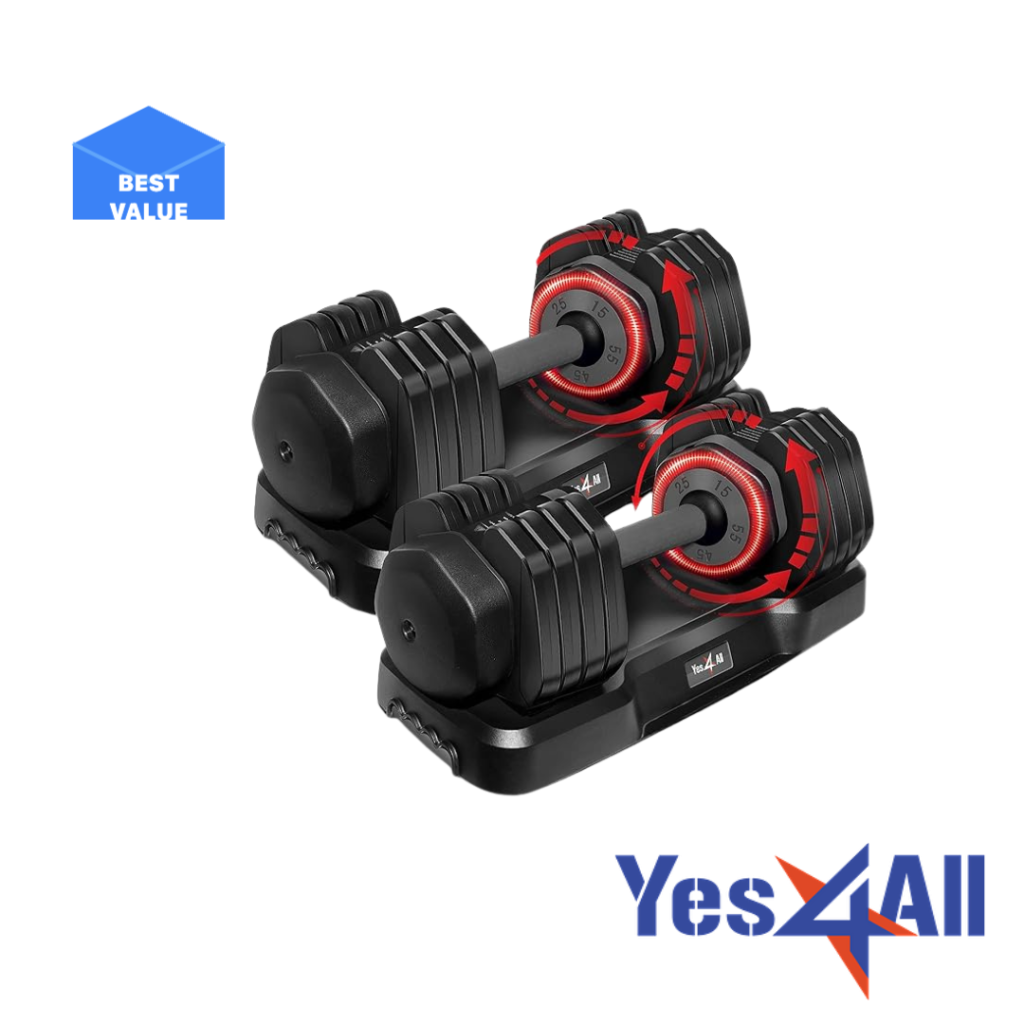
We think the winning combo is to get a set of bumper plates from Yes4All (such as their 160lb set), and then cast iron plates from CAP Barbell. This delivers the ultimate bang for the buck, and we’ve now built the centerpiece of our home gym for runners.
You’ve got the equipment. Now, how does a runner actually GET STRONG?
As a runner, your training is naturally biased towards volume and cardio. With trap bar deadlifts, you’re compensating where you are (literally) weak: you need to train differently.
You want to train in the three to five rep range (yes, that’s 3 to 5 reps). You don’t want to start with your 3 rep max or 5 rep max. But whichever one you choose, you want to start at a weight where you could only have done 2 more reps.
Training every three days, for, say, 3 sets of 3 reps, and then adding five pounds each session, will completely transform your strength profile as a runner within 6 to 8 weeks. Think about it: you start at 95lbs for a moderately challenging triple, and two months later, say, you’re grinding out 3 reps of 205lbs. There is no question that the new you will outrun the old you. This alone justifies building a runner’s home gym.
Next, a runner needs power endurance (that’s a thing)
So, you’re a runner, and you’ve enabled your first cheat code, which is to get strong. Now is the time to turn that strength into power for acceleration, and endurance where you can sustain that power. Think of the last 100 meters of a 5k run, where you’ve got to find an explosion of speed and energy under fatigue, to shave off some time and beat your personal records or the runner next to you.
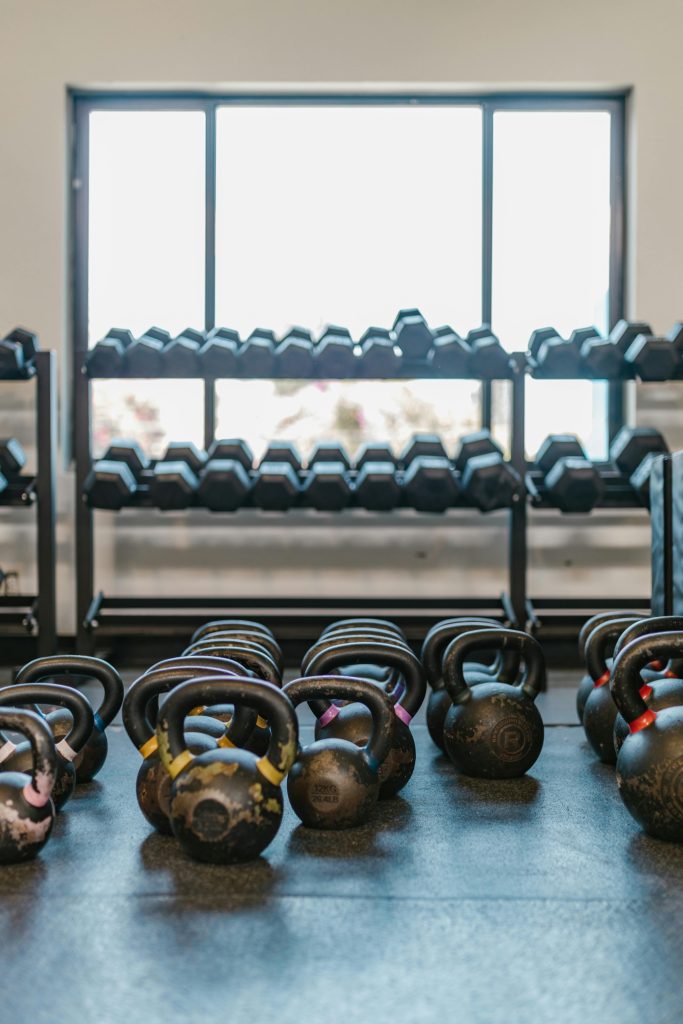
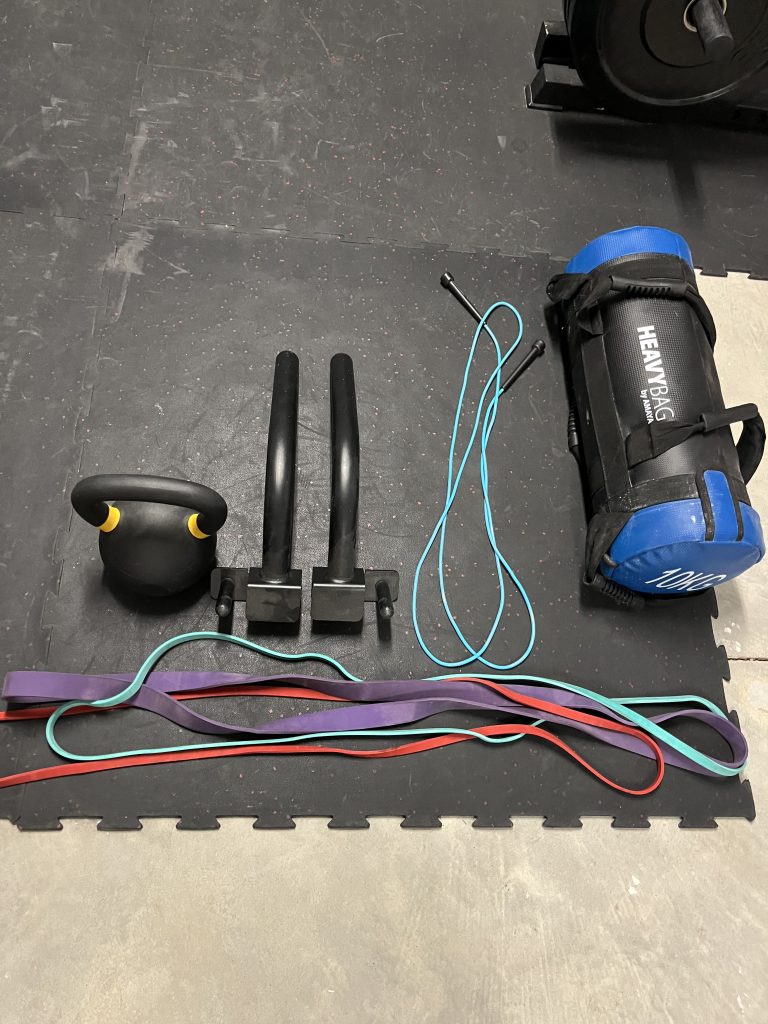
Your secret formula is the kettlebell swing, which makes the kettlebell your weapon of choice.
The great thing about kettlebells is that they’re so versatile, you can get away with buying a single kettlebell.
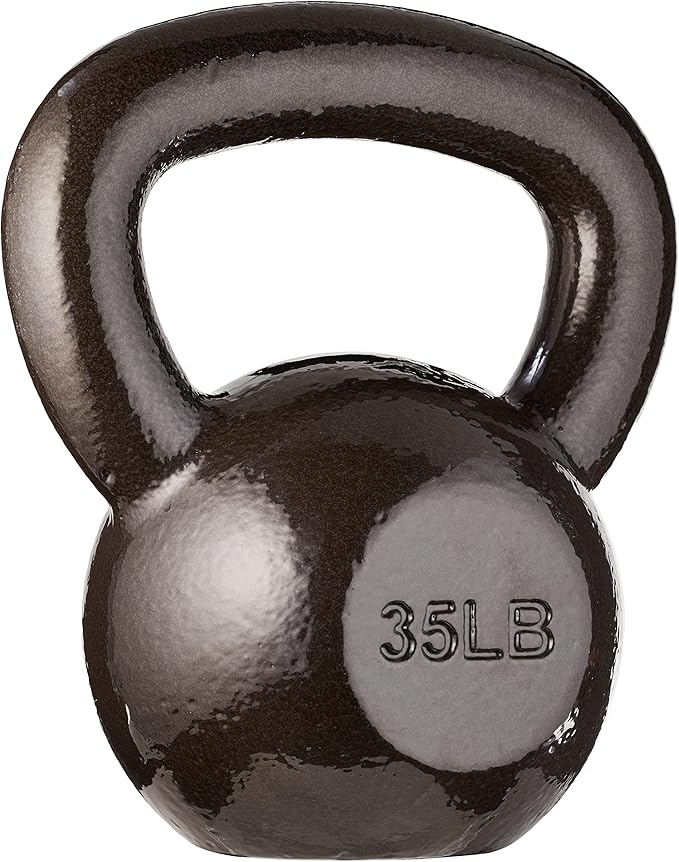
We think that for men, the right weight is 35lbs/16kgs. And for women, it’s 12kgs.
The kettlebell swing is a relatively light, explosive exercise that mainly focuses on the core and the posterior chain. It provides fast hamstring action. Moving the weight so quickly is an expression of power, but unlike Olympic weightlifting or vertical jumps, it does not fry the Central Nervous System, nor does it deplete glycolytic energy reserves as quickly. This makes it a very good exercise for the 8 to 20 rep range, which means that power generation can be trained for endurance. This perfect for runners who are beginning their acceleration from a cruise speed rather than from a dead start. So, now our home gym for runners is building lower body and core strength, power, and endurance – which enhances running performance, in a way that running alone simply can’t.
What’s the right upper body training for a runner?
Most runners are skeptical that upper body strength is relevant for their sport. This is particularly true of long distance runners, but much less true of sprinters. A cursory glance at Olympic sprinters reveals that they are full-body muscular. Not bodybuilder style, but they look strong and lean. And it makes sense. The arm swing can add a bit of extra juice to a fast movement like a vertical jump or a sprint. The key is to have relative upper body strength: to be strong pound for pound, relative to your overall body weight.
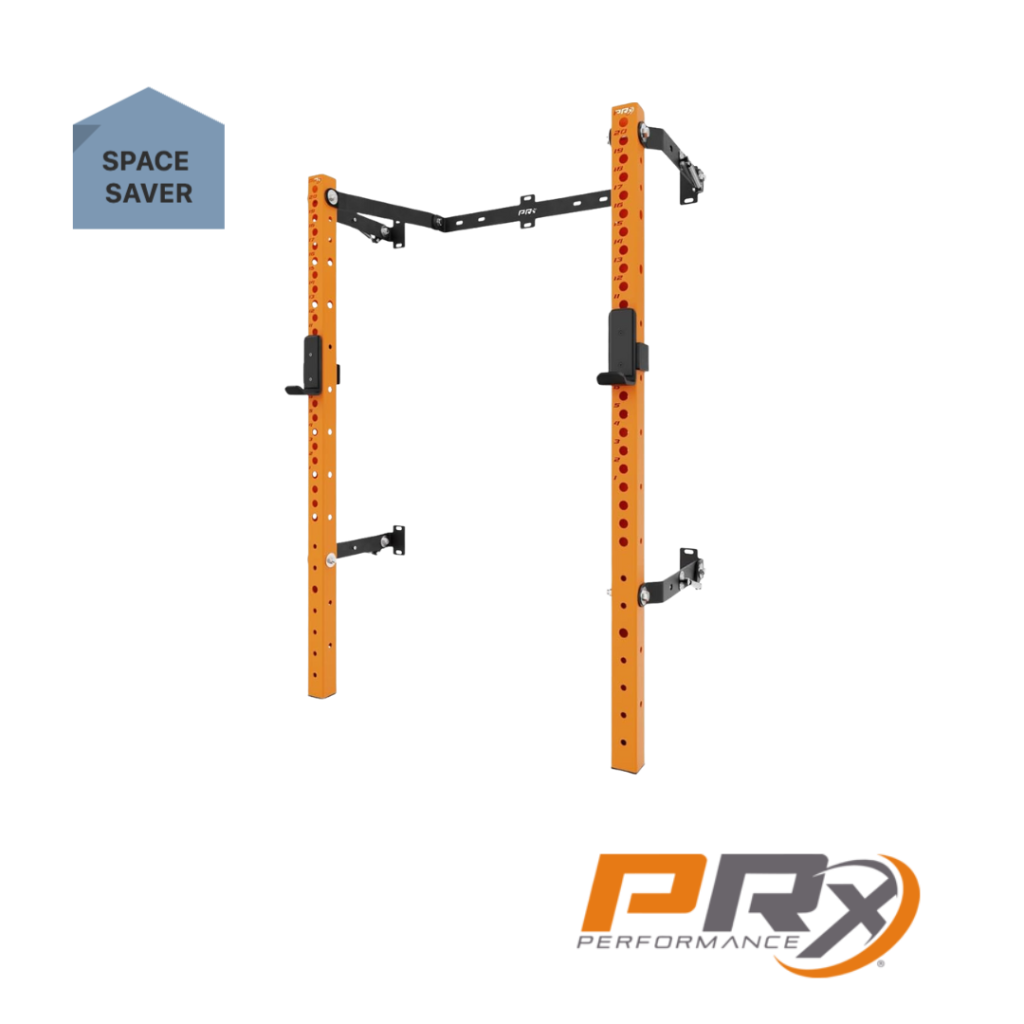
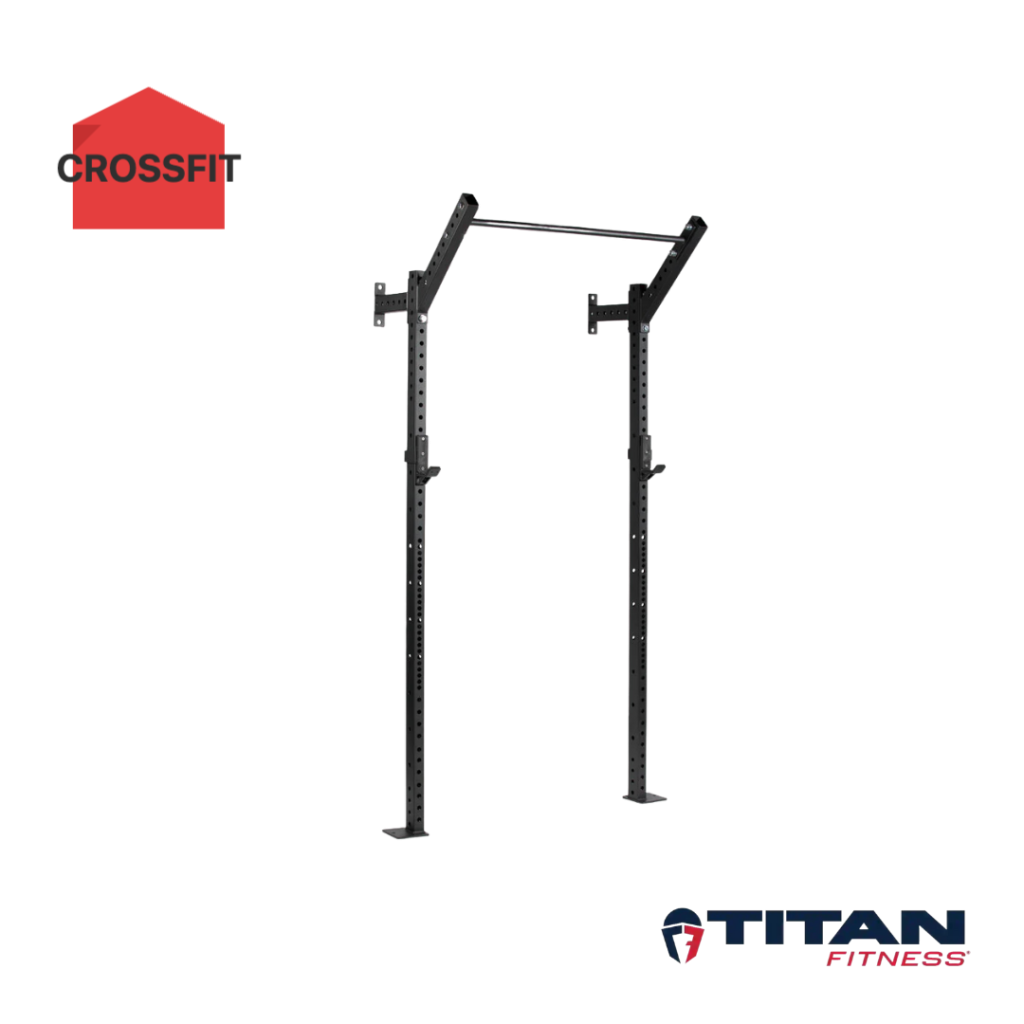
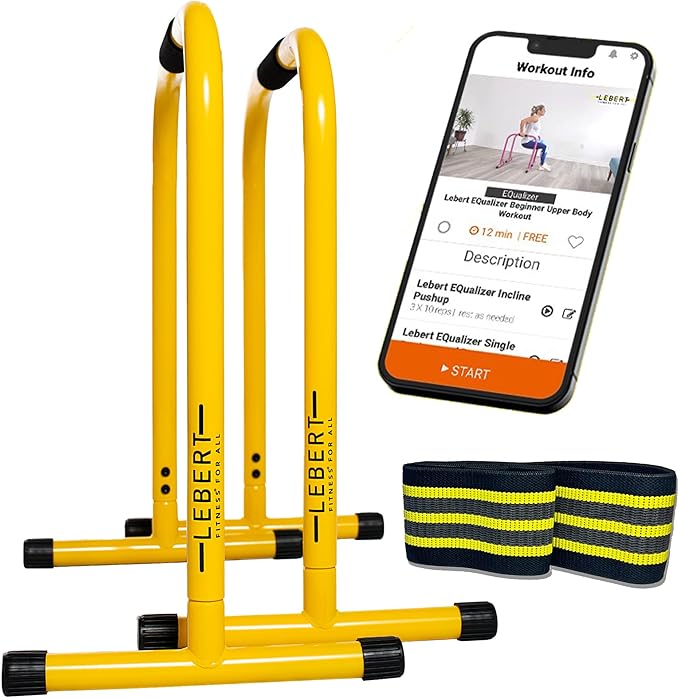
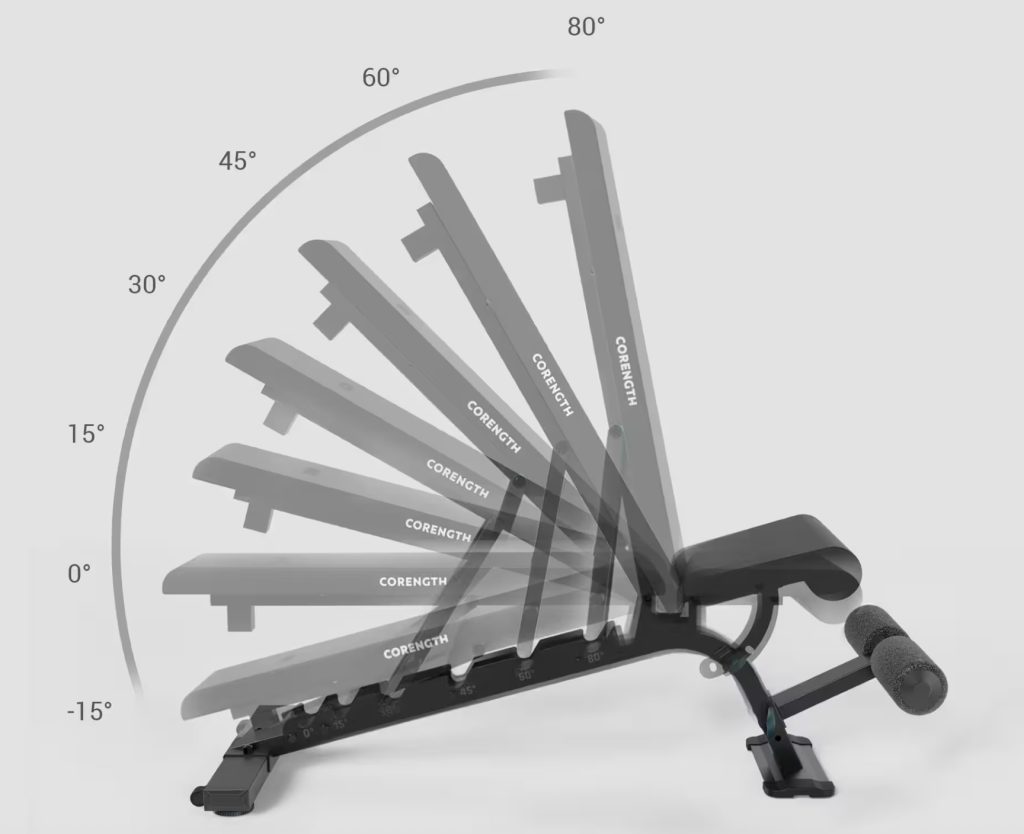
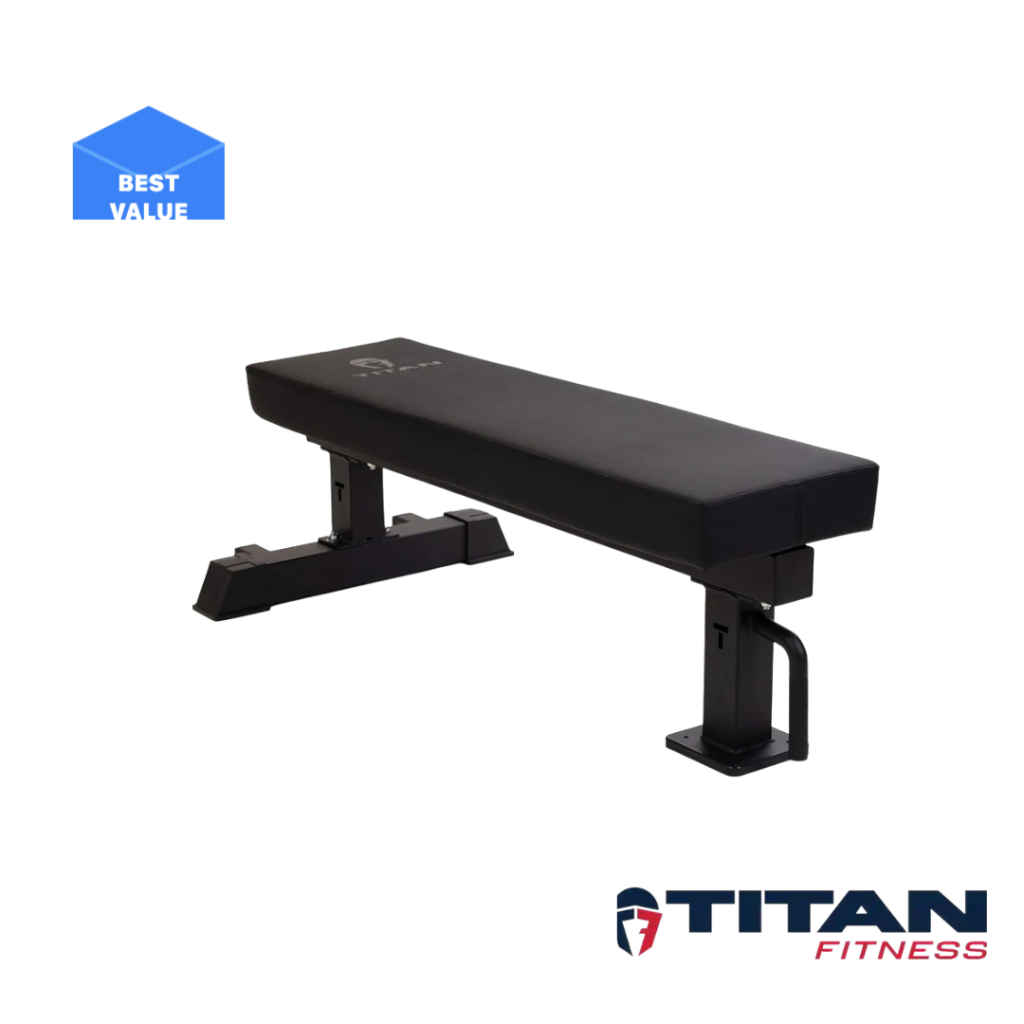
As stated, the best setup for strength training is a barbell, rack, and weight bench (for upper body). But for runners, the much smarter setup is to use a Power Tower. The power tower allows the runner to develop upper body pushing and pulling strength, thanks to the dip bars and the pullup bar. These are bodyweight exercises, which means that the strength requirement scales with the runner’s bodyweight. As an added bonus, most power towers have armpads to allow for leg raises as an abs-training exercise.
So, honestly, the real issue with power tower shopping is that you can find good prices from unpronounceable Amazon vendors. It’s a flea market. These folks might not be around tomorrow. I can’t in good conscience recommend vendors I don’t understand, just because the product image looks similar to those from reliable vendors, and the price point is superior.
I’ve scoured the market, and oddly, it’s hard to find as good value for money in the States for a power tower as you can find in – again, oddly – Europe, and specifically, Decathlon. Their Corength 900 is a sturdy, well-priced, excellently designed product. There are excellent power towers available in the US, and there are cheap ones. There are not a lot of analogues to the Corength 900. That said, for a runner, upper body training is not central. Stamina is an established brand, and their Power Tower is a no-nonsense, no-frills, minimalist piece of equipment that reliably allows for pullups and dips at a $150 price point. This would be our recommendation for a runner that needs to strengthen their upper body, and turns our home gym for runners into a full body station.
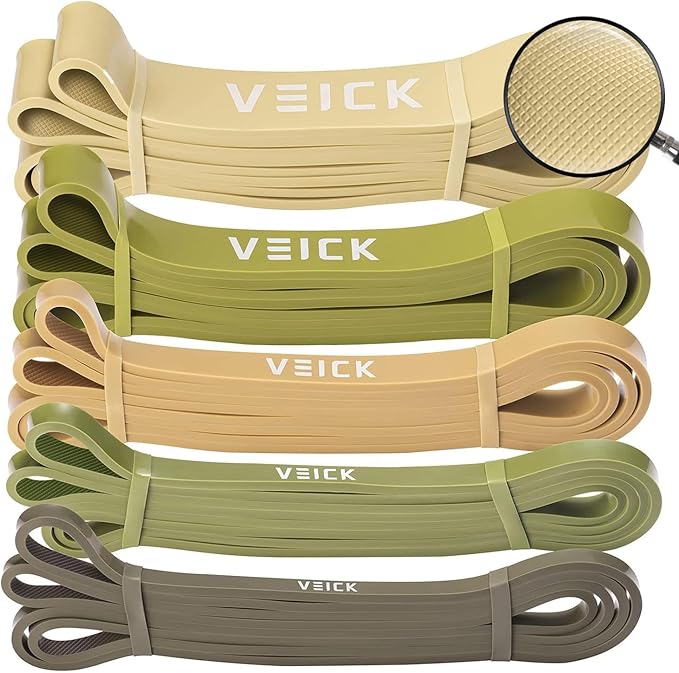
The final piece: resistance bands
Bands can serve as a complement to the trap bar deadlift, to kettlebell swings, to assist with pullups and dips, and on their own as assistance accessories. For that reason, our last recommendation in a Runner’s home gym is to add a simple set of resistance bands, which ‘completes’ their our home gym for runners.
Your Strongest Miles Are Built at Home
Building a home gym doesn’t have to be complicated, and for a runner, it shouldn’t mean becoming a barbell-obsessed “gym rat”. The goal isn’t to master a new sport; it’s to build a stronger, more resilient body to support the sport you love. That’s how you build an excellent home gym for runners.
By focusing on a few high-impact, versatile tools, you can create a powerful, minimalist setup that directly translates to better performance on the road or track:
- The Trap Bar: Your secret weapon for building pure lower-body strength safely and efficiently, without the steep learning curve of a traditional barbell.
- The Kettlebell: The ultimate tool for developing power endurance, giving you that explosive finishing kick when you need it most.
- The Power Tower: The smart solution for building the essential, pound-for-pound upper body and core strength that supports a powerful running form.
- Resistance Bands: The final piece of the puzzle, perfect for warm-ups, accessory work, and keeping your joints healthy.
With this setup, you have everything you need to get stronger, run faster, and stay injury-free.
Now that you’ve planned your runner’s setup, see how these pieces fit into a broader philosophy in our Ultimate Starter Home Gym Guide.